Showing posts with label row house. Show all posts

Sunday, March 25, 2012

office; color coordinated bookshelf

...and we're back.  While the blog has collected dust, progress at Project Rowhouse has continued.  Here's to some spring cleaning.

Lynsey Isaac 103

Our home office has changed a few times over the years.  Take a look at the transformation.

Before:

406 S Exeter 059

No need to see the rest, right?

Here is a look at the first version.  While the orange was a fun, bright color, it wasn't the soothing environment we wanted for an often-used telecommuting work space.

042

046

048

And - here is what it looks like today:


I'm hoping to keep things a little less dusty around here - wish me luck!

Wednesday, December 23, 2009

stairs

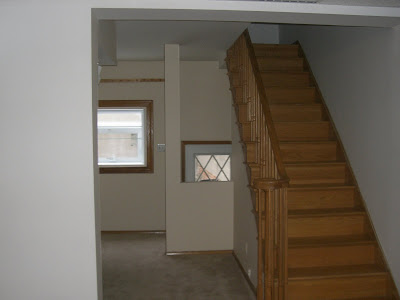
The stairwell was extra oak'y and extra ugly. This first pre-kitchen, pre-brick picture is startling.


I believe Dustin preferred the stairs go unaltered...


...but, it had to be done.

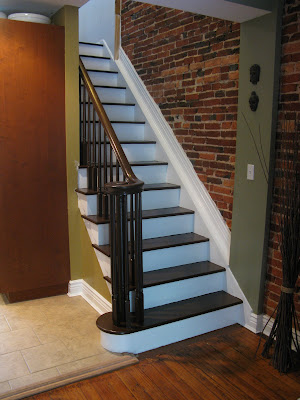
Eventually it'd be nice to install new stairs altogether - for now, some aesthetic clean-up was in order. We primed first then used a dark brown floor paint from Valspar for the treads and balusters. Some bright white trim paint for the risers finished it up.

Since I'm sure most are curious about wear and tear with painting the floor, I'll admit that we actually did this job prior to filming the show (last summer). The paint has performed quite well. For about $50 I'd say this was a worthwhile, buck-banging effort.


Yep. Lady Gaga on the TV.

Thursday, August 20, 2009

hgtv - air date

Per Meg, we have an air date. September 11!

**********
Hey Craig,
As of right now we are planning on airing your show on 9/11. I will be sending out an email in the beginning of that week to remind everyone and the following week you will receive your DVD. I will update you if there are any changes.
Thank you

-Meg
***********

We also have a bunch of updates on the house - stairs, more drywall, floors... pictures are forthcoming.

Thursday, July 23, 2009

filming - HGTV

It’s official. Filming is complete. I imagine somewhere out there, somebody is busy editing and cutting out the numerous “um’s” and frequent direct eye contact with the camera.


First - we don’t have an air date yet. As soon as we get some more information, we’ll let you know! (I wonder how many of you will still ask in the comments, despite my clear, informative writing.)


The process was fun and everyone involved was great! It’s tough to walk around and talk about your house with cameras in your face, but the producer assured us we were doing great.


The designer was Taniya Nayak, who we’ve recognized from other HGTV programming. She was nice and had great things to say about the house.


Here are a few of the crew working in the house:


Makeup – of course:


As far as who had their best Bang for their Buck – we don’t know yet. I guess we’ll find out when they air!

Saturday, June 27, 2009

dining room; clear chairs; corn vase

We often hear kind words about the fact that we're a productive pair. Although, as of late work has slowed dramatically. There are a number of small, unfinished projects preventing the joyous occasion of a to-do list strikethrough.

It's funny how a professional designer and real-estate agent, with camera crew in tow, can motivate you. Things are getting done - in fact, we removed the to-do list altogether.


The picture is old - many of the jobs are now complete. Can you believe we had a question mark behind 'Backsplash'?

So about this dining room... before:


Mmm. Wallpaper.

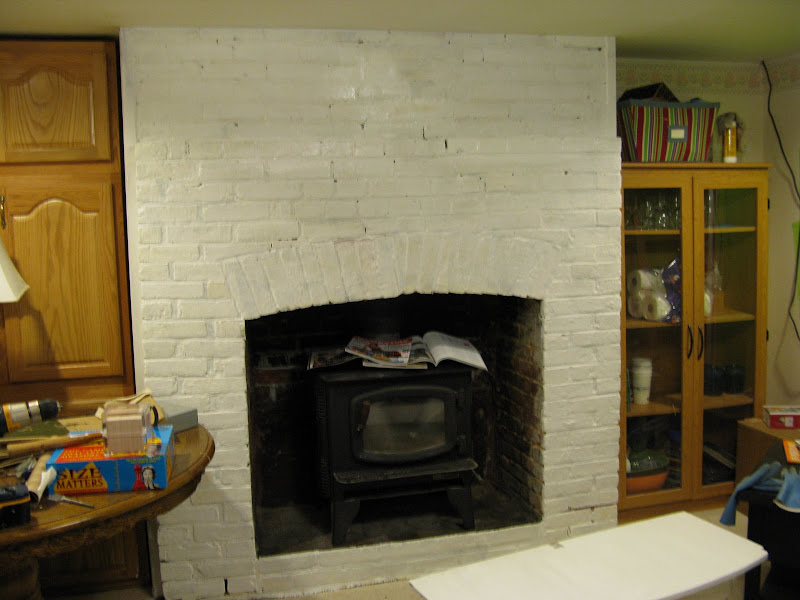
And I must point out the fireplace massacre. Some brilliant person covered the entire front with an inch of mastic to secure rocks.


Today - In progress:


I'm digging the clear chairs.

The corn vase - SO FAR - is only liked by two people. Me and
Jessica. It came from Red Tree.

Friday, April 3, 2009

paint colors

I've received a few requests for the paint colors we've been using:

Kitchen: Hot Cross Buns (American Tradition)

Living Room: Short Grass Prairie (Valspar)


Tuesday, March 17, 2009

backsplash - kitchen and wet bar

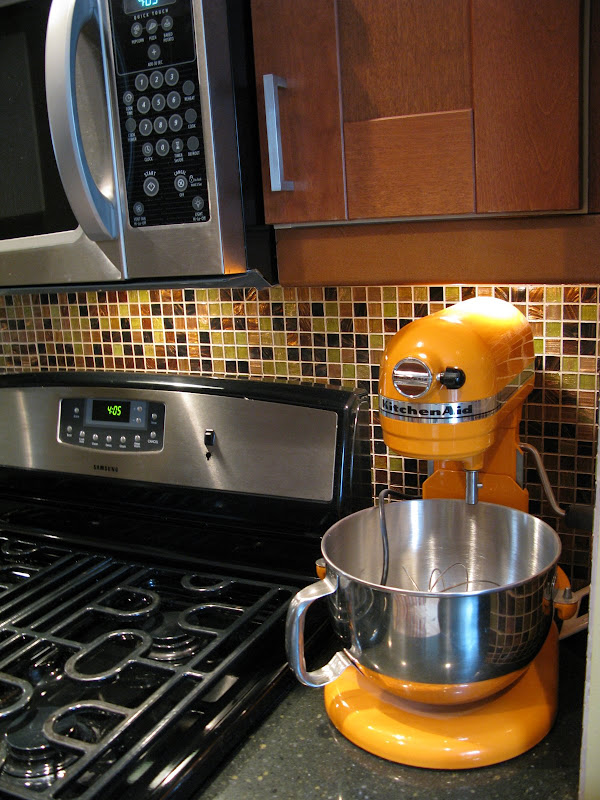
The backsplash is finally installed. It looks fantastic. If these walls could talk, I'm sure they'd say, "Mama just got some new bling and she's ready to tear up this town - outta my way."

This was an easy job, I didn't need need too many special tools and was finished over the course of a few days.

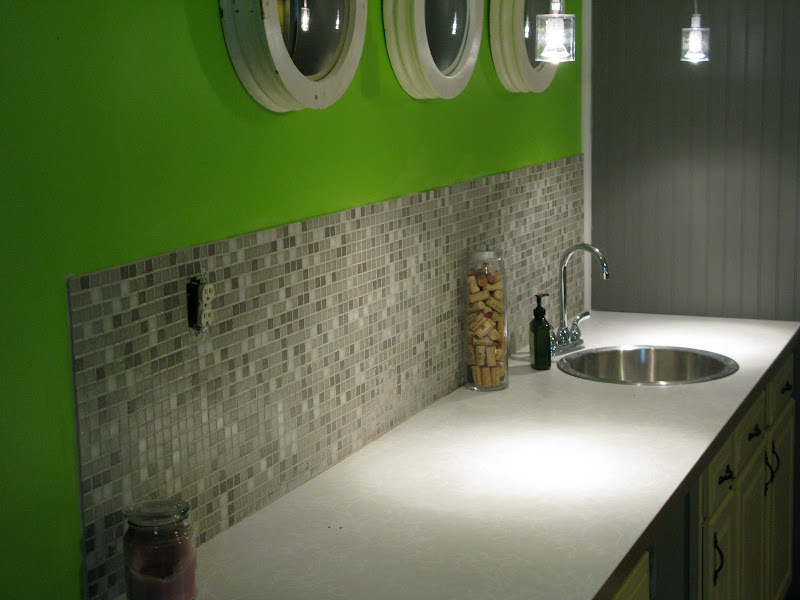
We want to give some big credit to Modwalls. In addition to being a completely friendly and helpful vendor, they have a beautiful selection of high quality tiles in a variety of colors. If you like the mosaic look and they don't have a color mix that works, you can mix up your own batch for a custom blend. As I mentioned before, we chose the Marrakesh blend for the kitchen - AND - we went ahead and got the Windy City mix for the wet bar in the basement.

There are some official installation guides here, but our process is described below.

1 - Adhering the tile to the walls - we did not use a concrete backerboard, but adhered the tile directly to the drywall. I used a V-Notched trowel with 3/8" grooves along with premixed, unsanded Mastic. When you are spreading the mastic on the wall, be sure that you're applying a thorough, yet thin and even coat. If it's too thick, when you press the tile flat against the wall it will seep up through the individual tiles. This went unnoticed in a few areas during my installation. It can be cleaned up after the mastic is dry, although this means more work. This picture from the wet bar shows some seeping mastic.


We were fortunate in that we did not have to cut any of the individual tiles to make them fit around outlets, etc. Because each tile is small, we merely cut sections out of the pattern and left the rest of the sheet intact - this worked well.

When you buy this tile, it comes in sheets that are about 12"x12". You may have sheets that have a netting on the back that sits right in the mastic - or they may have paper holding them together from the front of the tile. We had both types - see below:
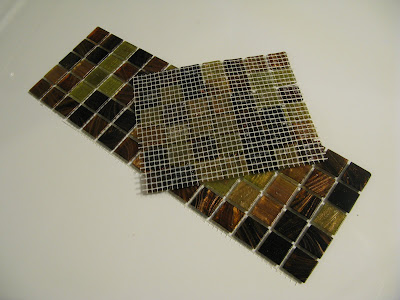

If you have paper fronted tile, you need to remove the paper after you fix it to the wall, but before everything is set firmly in place. I waited about 20-30 minutes and then started wetting the paper (sorry no picture). I found that a spray bottle worked best. When it's soaked through, the paper will easily peel away. At this point the tile fronts are exposed along with errors and crookedness. Because nothing is completely firm, you can straighten the lines. Now the mastic needs to firm up for at least 24 hours.

We had a few different edge types. I used blue painters tape which made for nice even grout lines.
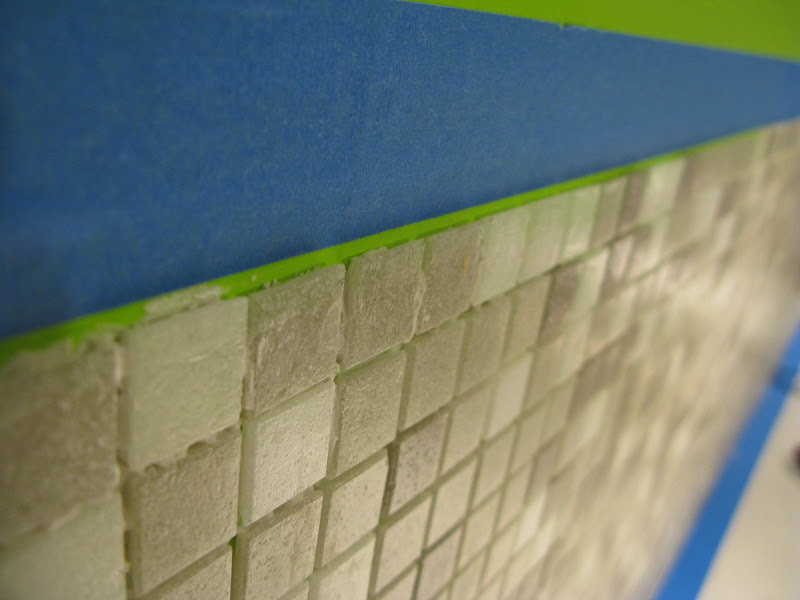
2 - Grouting - after everything is dry I suggest a good cleaning. The sooner you clean up, the easier the clean-up. Remember the seeping mastic? This needs to be completely fixed prior to grouting so the lines are all even and smooth.

With glass tile you'll want to get a non-sanded grout. There are many colors to choose from. I'm not a big fan of grout lines that pull attention from the tile itself, so we went with similar colors to the tile.

When the grout is mixed and ready to apply, I suggest having a few putty knives around and a good float. Slather the grout on the tile and start spreading it forcefully and evenly with the float in a diagonal direction to the tile.

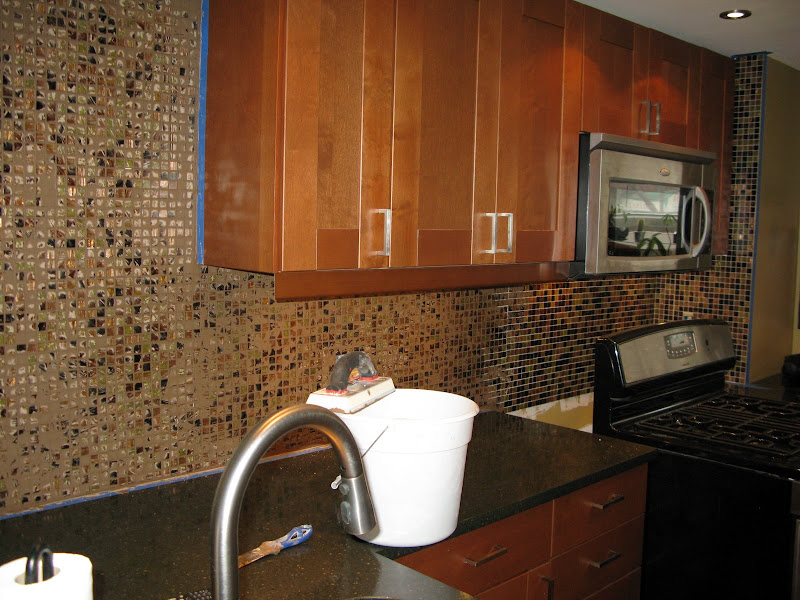
After everything was grouted, I waited about a half hour before wiping down with a damp [often-rinsed] sponge. As the remaining residue dries a haze will develop over the surface.

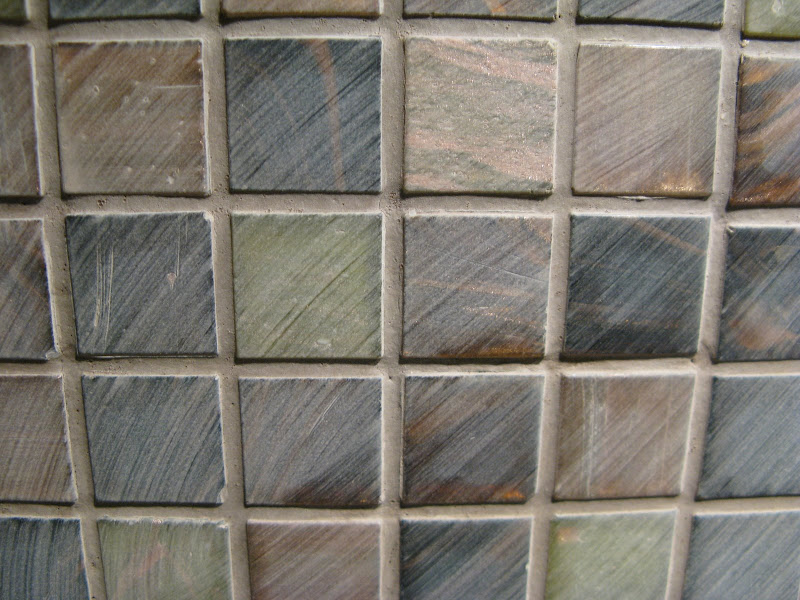
I had to come back a few times with the sponge a day later to polish everything up - but it came out beautifully!
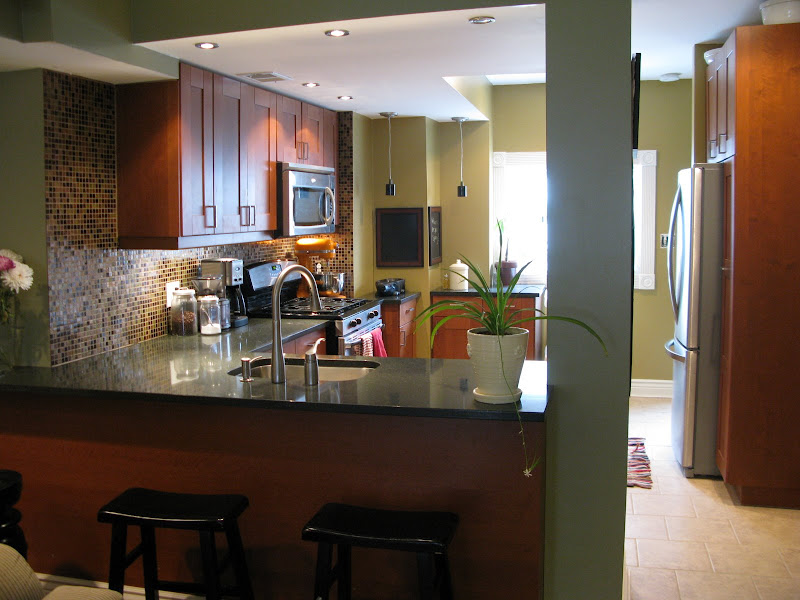
And the basement (ignore the unfinished electrical outlet):

Monday, February 2, 2009

basement

Sorry y’all, we concocted the most daunting to-do list ever and we failed to put ‘blog’ as an entry. We’ve been wonderfully busy with the house though and blogging is back on the list, so hopefully you’ll be hearing from us more frequently.

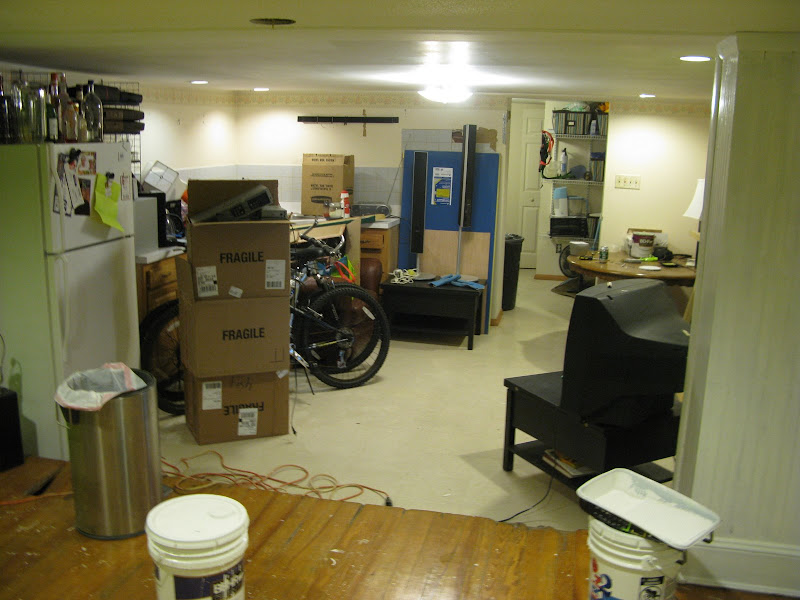
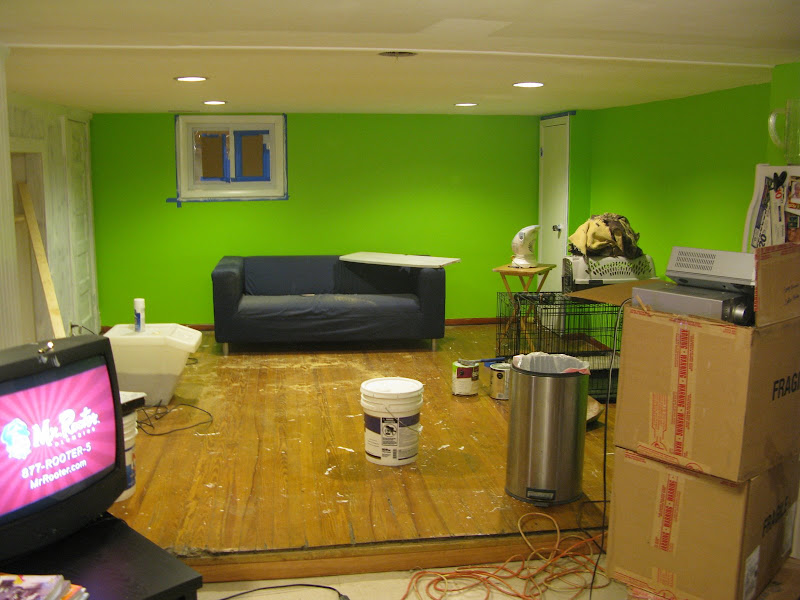
Now that the basement is freed up (i.e. we moved upstairs), we can start turning it into the recreation room. It has some great potential and it’s nice to be starting with a somewhat finished space.

About the basement: as far as rowhouse basements go, I think we hit the jackpot here. It’s ugly, but a good sized space and most of it has reasonable height (none of it is the standard 7’). As you can see in the pictures, there is an elevated wood floor on one half that pushes the headroom to a danger zone – about 6’2”. Not ideal. This side will be a lounge / TV / fish tank area, so it shouldn’t pose too much of a problem. Dancing and grooving will be allowed despite the risk of head injury.
I’ll do a post about the fish tank when we put it up… I talk so much about those dogs that I failed to tell you all that keeping a big fish tank is by far my favorite hobby.

The wood floor is in terrible shape – TERRIBLE – we’re not refinishing it, but because of what’s under it, we can’t remove it [easily]. Some exploring exposed unevenness and surely other yet-to-be-discovered problems. The other half of the area is linoleum on concrete and this is about 6’6”. We’ve decided to just carpet the entire space to unify and warmify.

The side with the taller ceiling is where the kitchen was. You can see some kitchen leftovers in the pictures. Our plan is to reuse a few of the cabinets and put a wet bar in the same corner with a beverage center. We’re leaving the range gas hookup in case we (or a future owner) ever choose to turn the basement in to a full apartment. The pool table will also go in this space (Thanks, Rosa!).

There is some storage and utility stuff in a separated area. Our latest thought is that the washer and dryer should be moved up to the second floor and this will open up room to put a full bath to really have an actual suite. You hear that, Mothers-In-Law?

Excuse the mess:


Does this green remind anyone of Nickelodeon? It’s ridiculously bright. It looks much brighter in the pictures than in real life – that is a COMPLETE lie. This is just the beginning and I’m not at all worried that it will be terrible when we finish, but it is a bit crazy looking right now.


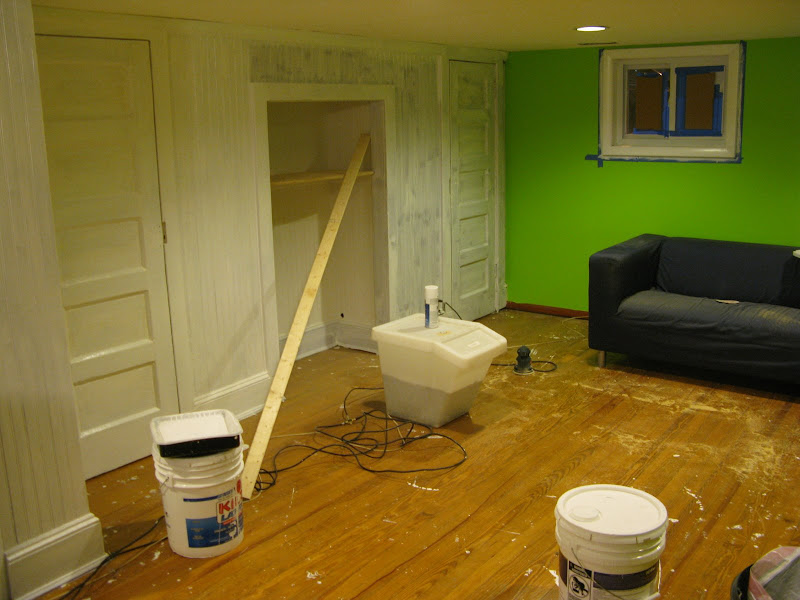
The built-in closet unit on the left side was “finished” wood, but it was way too dark and in poor shape.

Priming begins: