Showing posts with label kitchen. Show all posts

Tuesday, March 17, 2009

backsplash - kitchen and wet bar

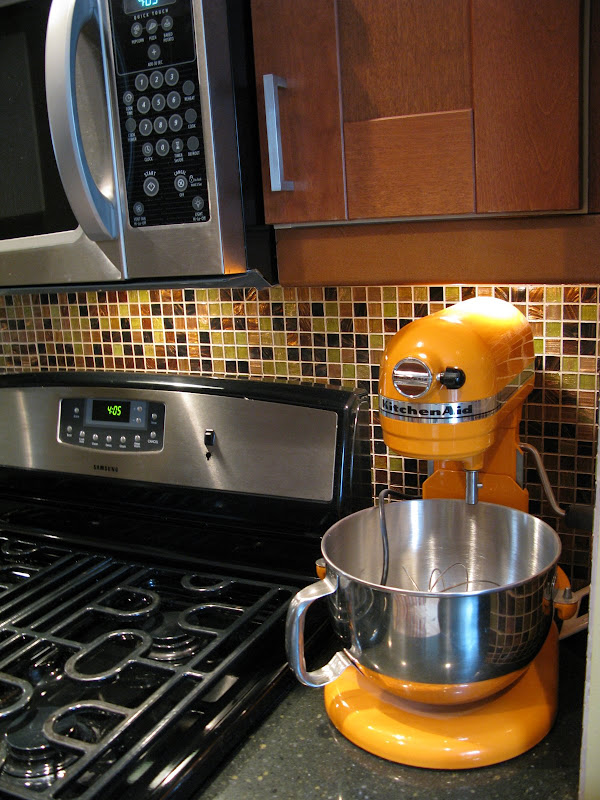
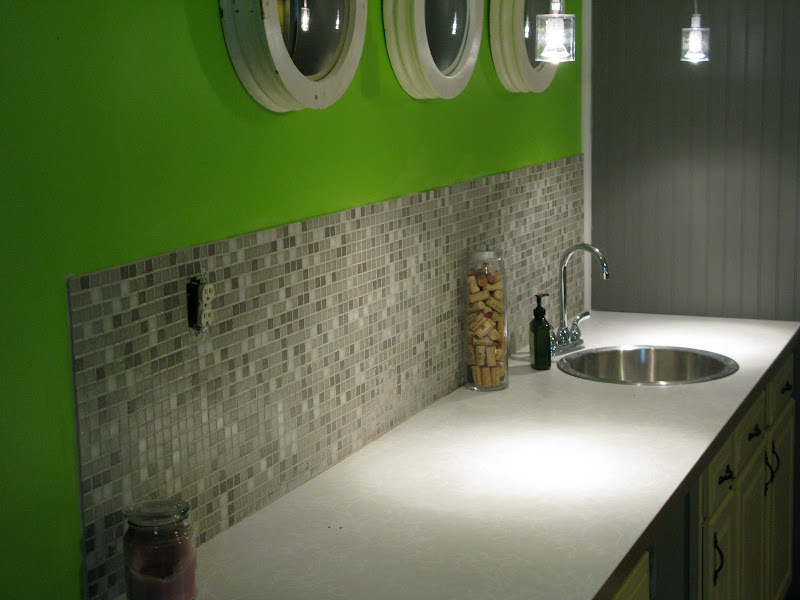
The backsplash is finally installed. It looks fantastic. If these walls could talk, I'm sure they'd say, "Mama just got some new bling and she's ready to tear up this town - outta my way."

This was an easy job, I didn't need need too many special tools and was finished over the course of a few days.

We want to give some big credit to Modwalls. In addition to being a completely friendly and helpful vendor, they have a beautiful selection of high quality tiles in a variety of colors. If you like the mosaic look and they don't have a color mix that works, you can mix up your own batch for a custom blend. As I mentioned before, we chose the Marrakesh blend for the kitchen - AND - we went ahead and got the Windy City mix for the wet bar in the basement.

There are some official installation guides here, but our process is described below.

1 - Adhering the tile to the walls - we did not use a concrete backerboard, but adhered the tile directly to the drywall. I used a V-Notched trowel with 3/8" grooves along with premixed, unsanded Mastic. When you are spreading the mastic on the wall, be sure that you're applying a thorough, yet thin and even coat. If it's too thick, when you press the tile flat against the wall it will seep up through the individual tiles. This went unnoticed in a few areas during my installation. It can be cleaned up after the mastic is dry, although this means more work. This picture from the wet bar shows some seeping mastic.


We were fortunate in that we did not have to cut any of the individual tiles to make them fit around outlets, etc. Because each tile is small, we merely cut sections out of the pattern and left the rest of the sheet intact - this worked well.

When you buy this tile, it comes in sheets that are about 12"x12". You may have sheets that have a netting on the back that sits right in the mastic - or they may have paper holding them together from the front of the tile. We had both types - see below:
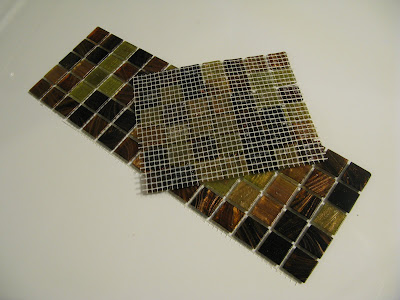

If you have paper fronted tile, you need to remove the paper after you fix it to the wall, but before everything is set firmly in place. I waited about 20-30 minutes and then started wetting the paper (sorry no picture). I found that a spray bottle worked best. When it's soaked through, the paper will easily peel away. At this point the tile fronts are exposed along with errors and crookedness. Because nothing is completely firm, you can straighten the lines. Now the mastic needs to firm up for at least 24 hours.

We had a few different edge types. I used blue painters tape which made for nice even grout lines.
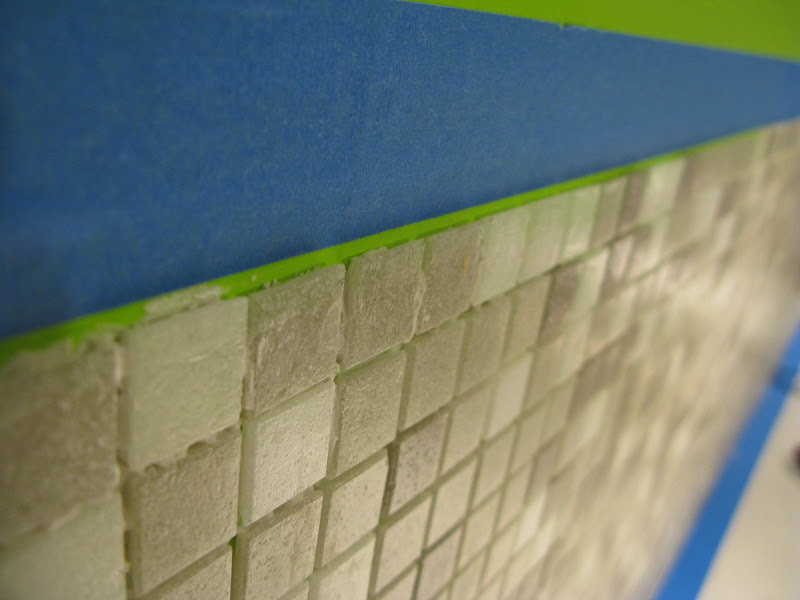
2 - Grouting - after everything is dry I suggest a good cleaning. The sooner you clean up, the easier the clean-up. Remember the seeping mastic? This needs to be completely fixed prior to grouting so the lines are all even and smooth.

With glass tile you'll want to get a non-sanded grout. There are many colors to choose from. I'm not a big fan of grout lines that pull attention from the tile itself, so we went with similar colors to the tile.

When the grout is mixed and ready to apply, I suggest having a few putty knives around and a good float. Slather the grout on the tile and start spreading it forcefully and evenly with the float in a diagonal direction to the tile.

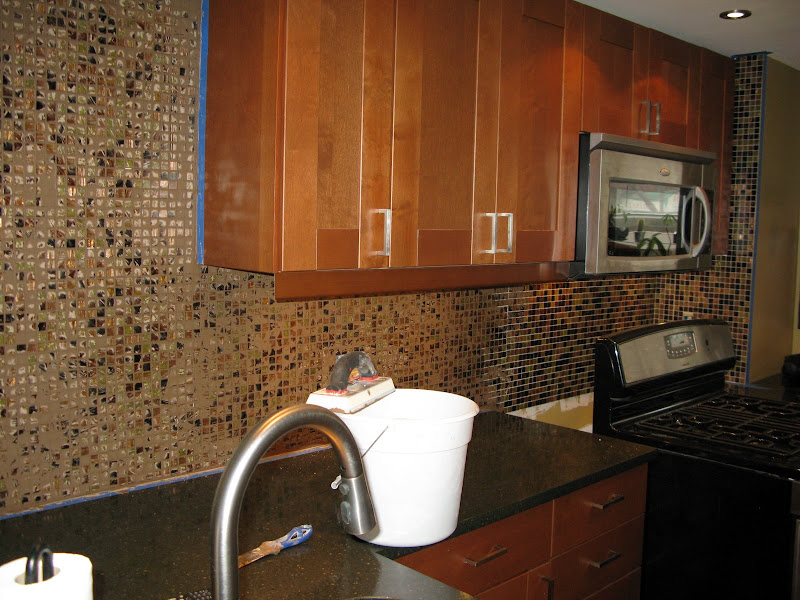
After everything was grouted, I waited about a half hour before wiping down with a damp [often-rinsed] sponge. As the remaining residue dries a haze will develop over the surface.

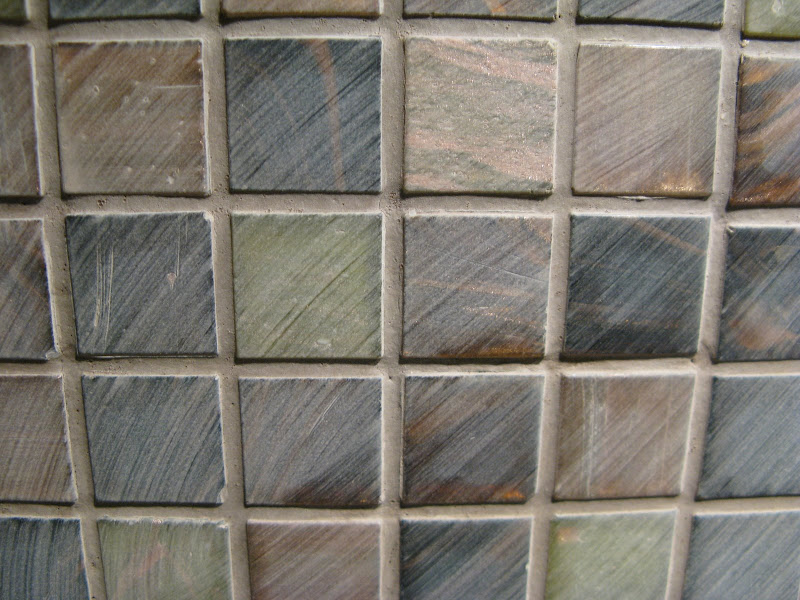
I had to come back a few times with the sponge a day later to polish everything up - but it came out beautifully!
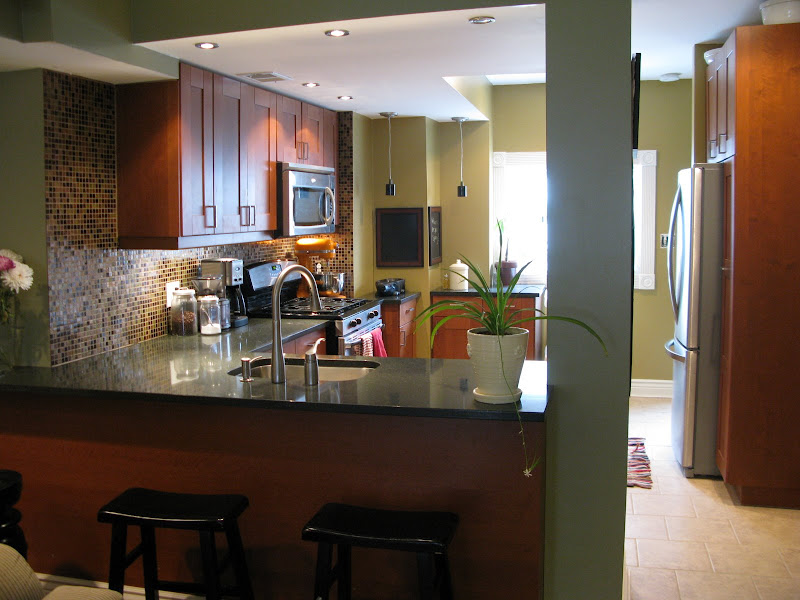
And the basement (ignore the unfinished electrical outlet):

Thursday, February 12, 2009

porcelain tile floor

Back to the kitchen - the floor is tiled, finally! It was a mess of plywood for way too long. We went with a neutral porcelain 12"x12" in a running bond pattern. I'll admit, I was a bit disappointed when I first realized that the floor I wanted was going to cost way more than necessary; I suppose the tile we ended up with is "safer" as far as general appeal. Now that it's in, I'm really happy with the decision. The lighter color helped the room feel even bigger and the fact that the pattern pulls your eye from side to side of the house, rather than front to back makes the kitchen feel fat and happy. An added bonus is that the end result seems to lend itself well to a house in Little Italy with a Tuscan'y feel.

A few items of note:
-When you're working with grout [and not wearing gloves] strange things will happen to the skin on your hands. It dried me out in a fantastic way. I was nothing short of reptilian for at least a week.
-People will tell you to invest in knee pads, but you won't because they're pricey and you think you can handle it. You can't.
-We rented a wet saw from the HD. I'm not sure of the other options out there, but this thing worked great.
-Cutting tile becomes annoying. Because we installed the cabinets first, we had to make more cuts than necessary. Most of the information I've read suggests installing the flooring material in a kitchen first. It's probably a good idea, but there are pluses to installing it last as well (e.g. less tile material). Our schedule dictated this decision.

A few in progress pictures before the final - to prove to Dan that Project Rowhouse is not some covert operation involving loads of contractors and designers.


No, I don't ask Jaxxon to be in every picture. This boy loves the camera - can you blame him?

Friday, December 19, 2008

countertops; painting

Not much time to write, but here’s a quick update of some big changes. 

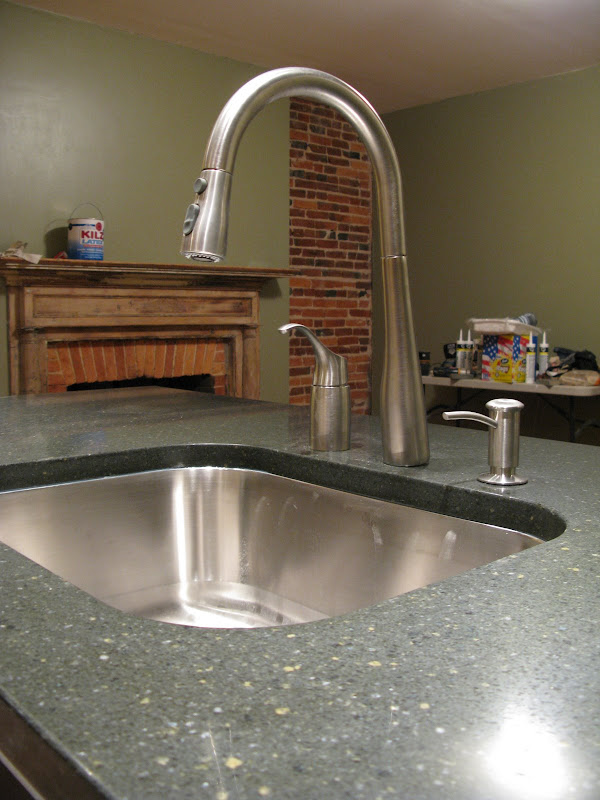
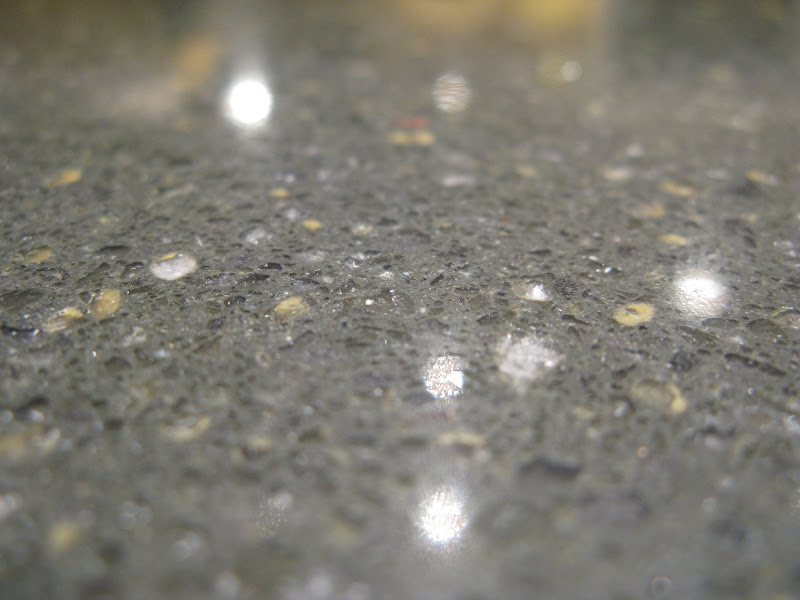
The countertops were installed (Dupont Zodiaq in Abyss Black) and we got the first coat of paint on the walls.  There is still much to do, but we’re getting there. 

What do you think of the paint colors?  I'm loving this green we chose for the living room.

Monday, December 15, 2008

cabinets

Jon: Isn’t there a Christmas movie that ends with a young boy proclaiming from his window “Merry Christmas, and peace to all” – or something like that?  It’s a snowy street, people are walking, bells are ringing, doves are flying – you know what I’m talking about?  He’s happy.  Like, Red Rider B-B-Gun happy, but not The Christmas Story. 

Craig: I don’t know – why?

Jon: I just need to know.

Craig: Is this for the blog?

Okay.  Maybe so, but I couldn’t come up with a more apropos analogy to depict my love for the way things are turning out.  “Base cabinets are in, and peace to all” – hear it?

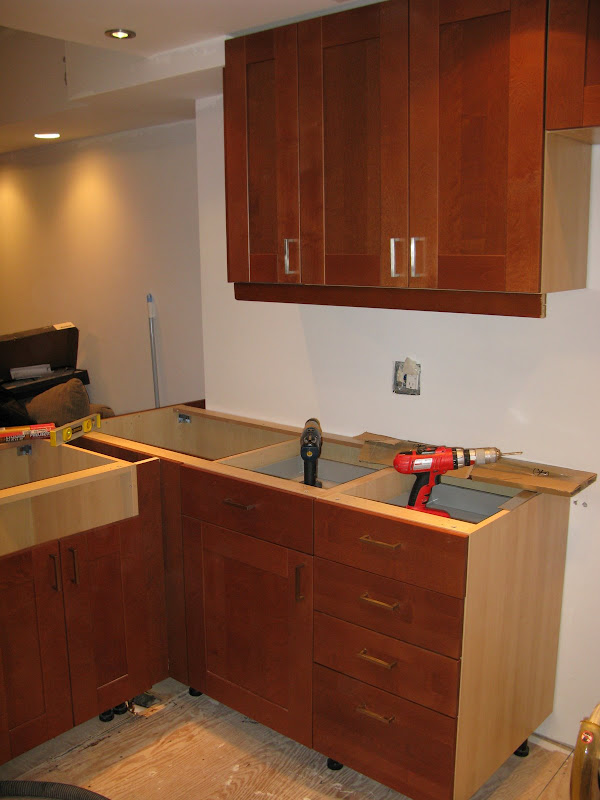
We got the base cabinets installed and the countertop contractor came out to take measurements.  It went well; he said we did a great job on getting everything level, etc.  The tentative installation date is next Friday!  We’re pretty excited – like, Red Rider B-B-Gun excited. 

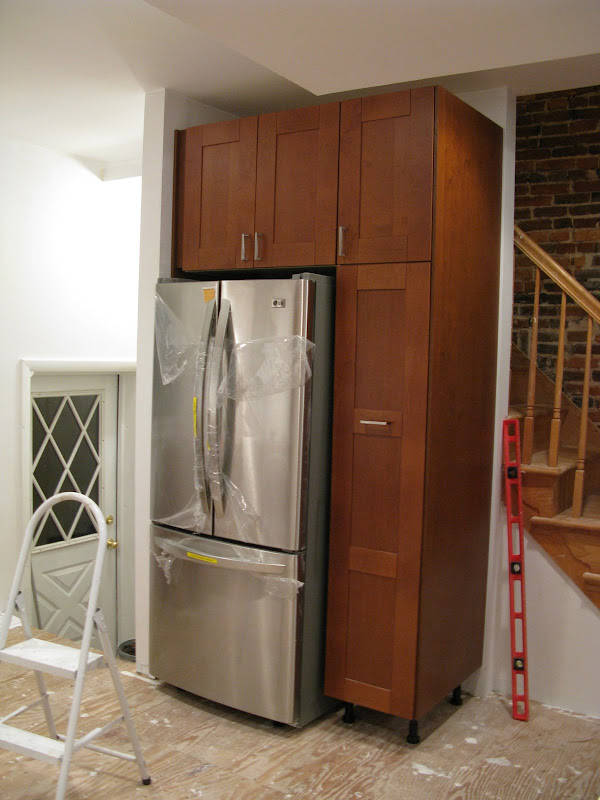
The refrigerator was also delivered.  I can’t wait to fill it with leftovers… from all the cooking, of course.


Wednesday, December 10, 2008

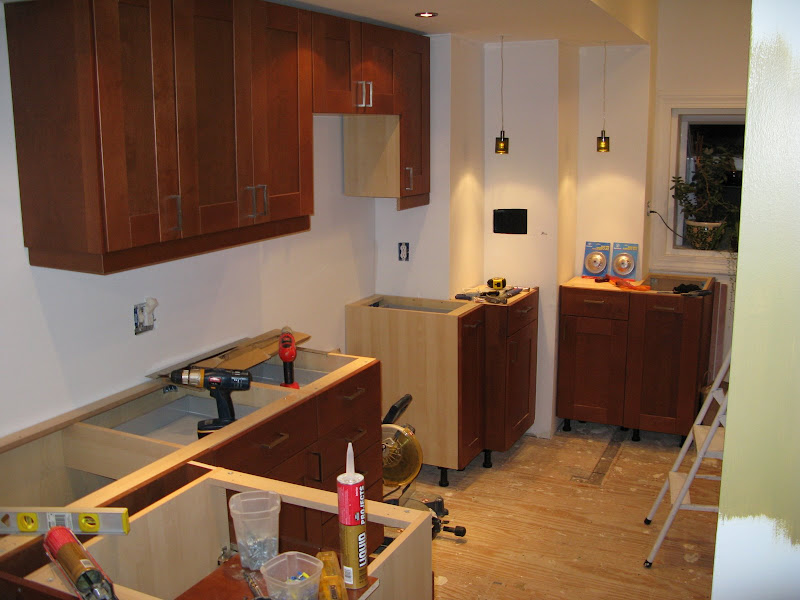
wood floor refinishing; cabinet installation

We got some exciting work done this weekend! 

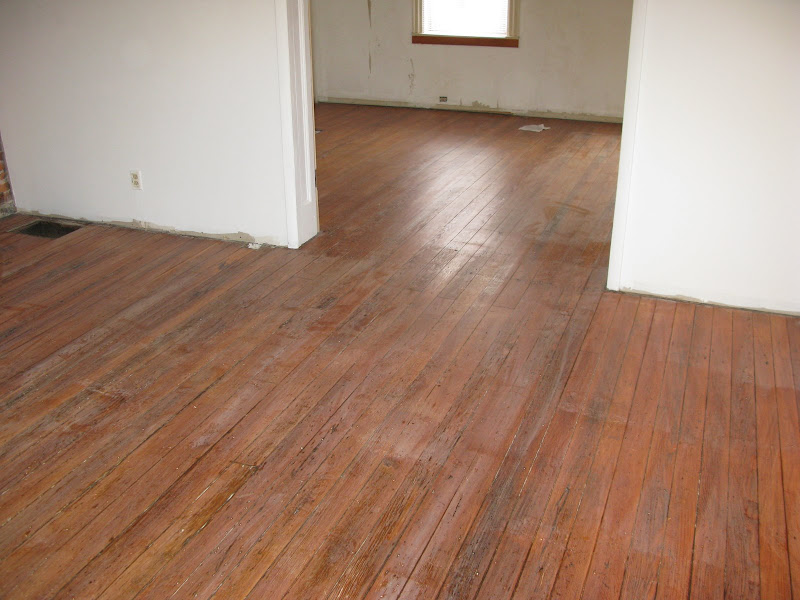
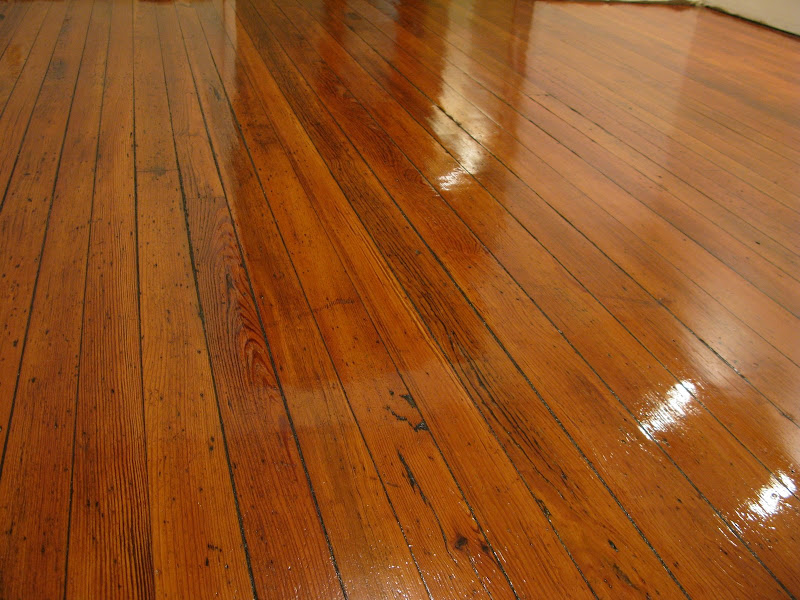
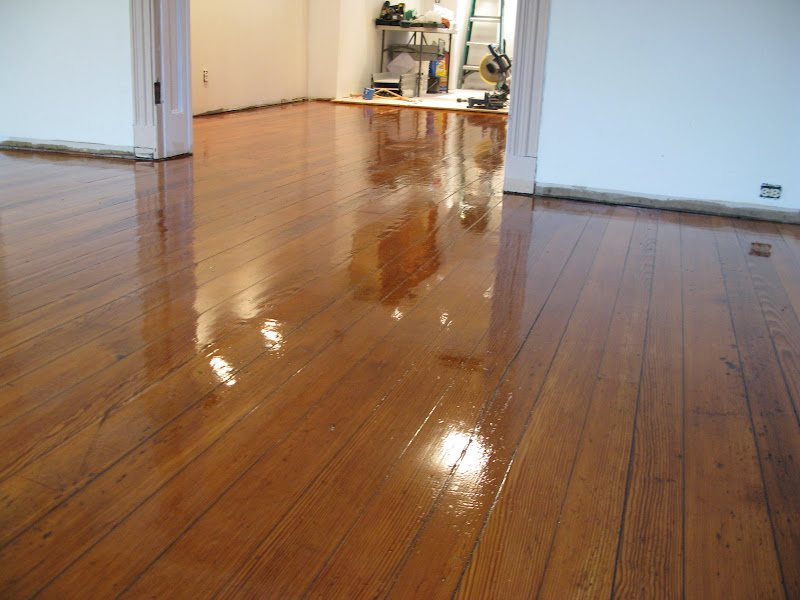
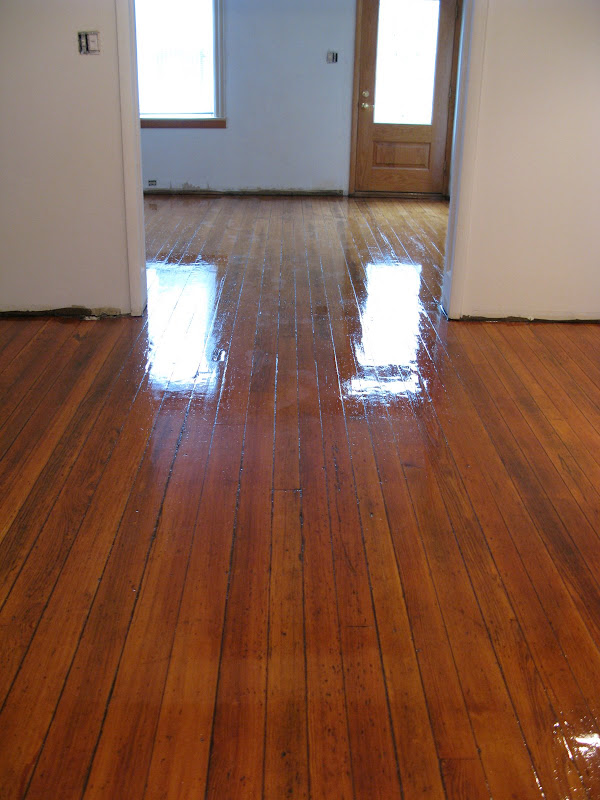
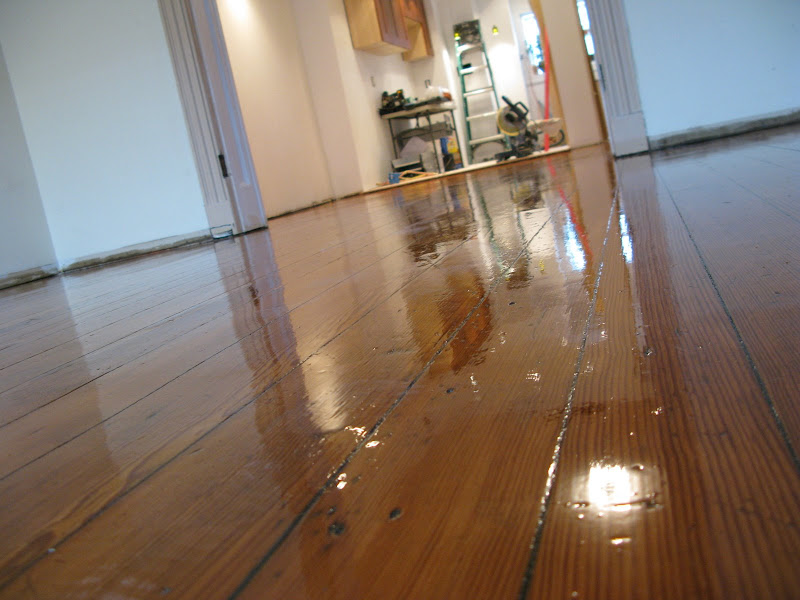
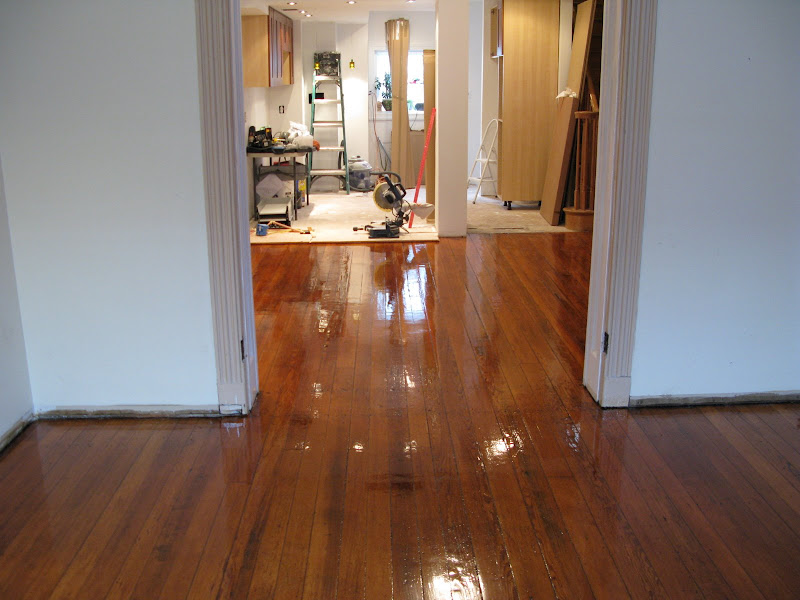
Wood floors: Firstly, I can’t believe I ever considered replacing the original floors, and here’s a thanks to those of you who openly considered my sanity.  They turned out great!  The floors had been refinished in the past and we liked the aged color and look.  They had potential.  Our goal was a super shiny, smooth floor that will stay that way - despite the canine parade.  We came up with a process that worked and we love the way they turned out.

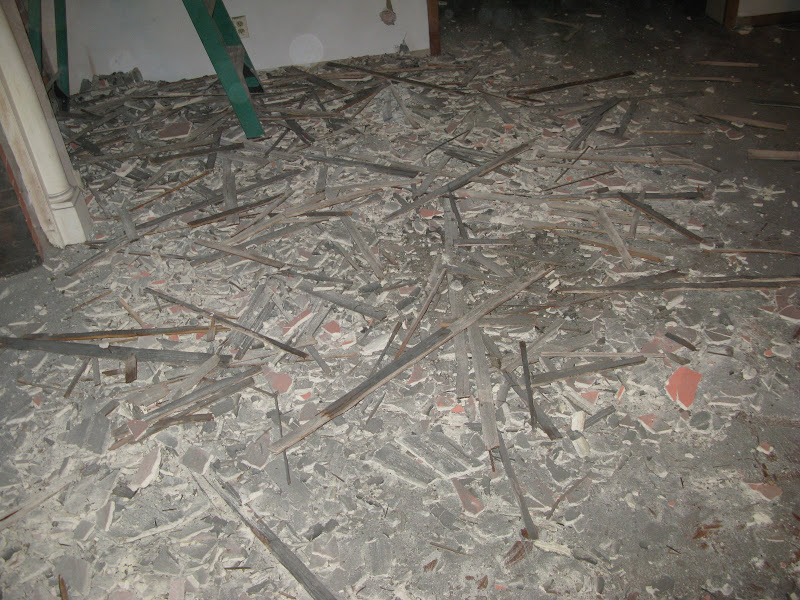
The first step is to clean and prepare the floors.  We used the shop vac, brooms, swiffers, etc.  You’ll also need to remove the baseboards - be careful if you want to keep and reuse them as they break easily.  If you have nail heads popping up or loose boards, this is the time to fix that too.

Before:

After thoroughly removing the debris, we sanded the entire floor with an orbital sander (rented from Home Depot) using a 150 grit sanding screen.  The edges and corners were done manually with a hand sander.  We were careful not to sand too deep in order to keep enough of the current finish and color (the orbital sander is simple to use and more forgiving than a belt sander).  After sanding, you should see a powdery white dust over the floor. 

Next, we dusted thoroughly with swiffer pads and followed up with mineral spirits using a lambswool applicator.  This step was imperative in our case due to the waxy buildup over the years.  If the wax is not completely removed it can affect the finish at the end.  The mineral spirits also cleans up any dusty layer that might be left and leaves the floors free of residue.  We went over the entire floor twice to ensure that it was clean and ready for the first coat of polyurethane. 

We used an oil based, gloss by Minwax – I’ve used water-based poly before and while I know it can be argued that it’s a better choice, I feel like the oil-based was easier to use.  One big difference is that there were no wet edge problems.  This is partly due to it’s slow drying time (18-24 hours before the second coat can be started).  Even though it took longer, we're much happier with the results here than in our previous house. 

We allowed the floors to dry and lightly sanded them again with the orbital sander (150 grit).  You’ll get the white powdery residue again (swiffer, then more mineral spirits with the applicator) – let the mineral spirits completely dry and hit it again with the same poly I mentioned above. 

We love them – so much – I think they might be pregnant. 

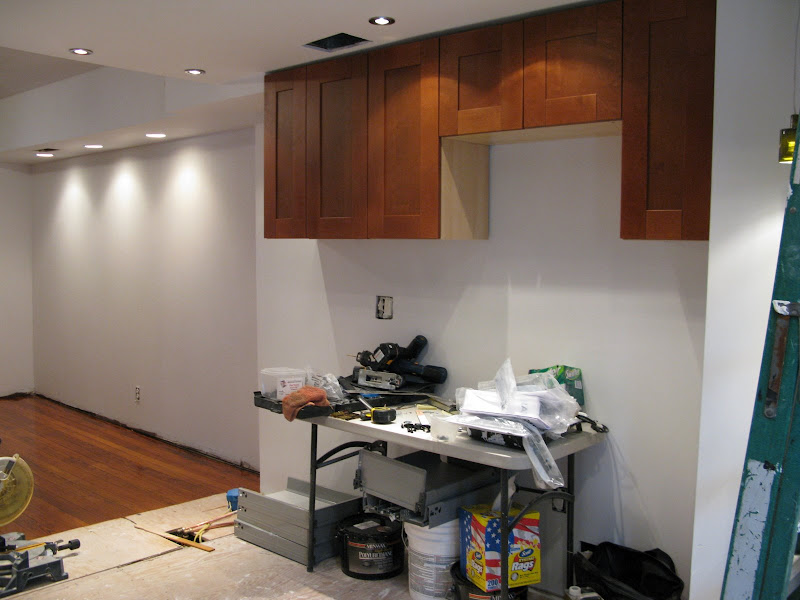
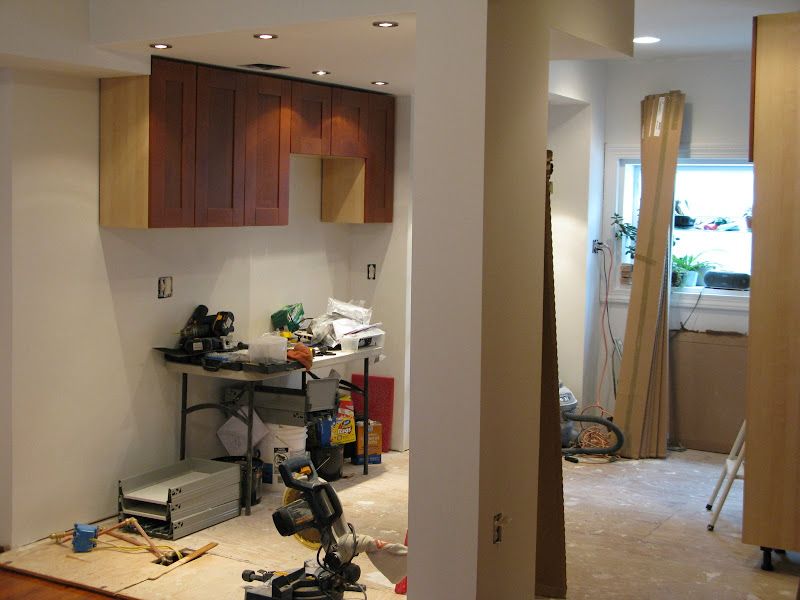
You can also see that we started the cabinet installation!  I think that needs one more exclamation point.    !

They’re Ikea Akurum in Adel.  The finish is called Medium Brown.  Medium Brown is a rare species of tree only found in the forests of Sweden.  Couldn’t Ikea come up with a name involving more than just adjectives? 

Ta-Dah!

Tuesday, December 2, 2008

drywall finishing; priming

We’re making big progress over here at Project Rowhouse. 

The drywall finishing is finally complete (on the first floor).  For the most part, we’re really happy with the results.  I was quite nervous when we started the process, and we still have much to learn, but most of the errors that we made were fixable with some determination, patience and rigorous use of various sanding implements, i.e. screens, sandpaper and blocks.  Here are some in progress shots – these were taken just after the first coat of filler:

And these were taken tonight.  Primer is on the walls and the smell of KILZ is in the air – it’s intoxicating.  Literally.  

For Drywall tips, I found THIS site helpful (and many others resulting from your basic search).  I also called my Dad quite a few times, email me for his phone number – I kid. 

One new way of getting help that we’ve been taking advantage of is searching YouTube for demonstrations of various jobs.  Sometimes seeing someone do something helps with the explanation.  

Thursday, November 20, 2008

drywall continued

I can't believe Craig still acts surprised and says things like "I dusted the TV yesterday - Look at this now!  Dust is for the birds!"  

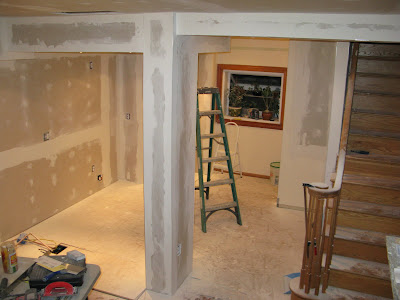
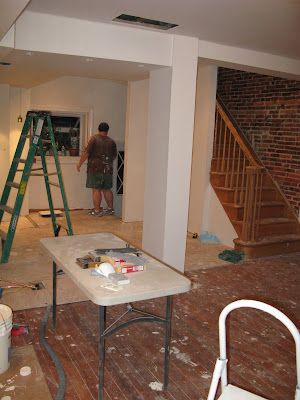
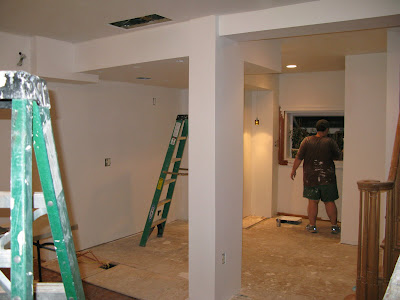
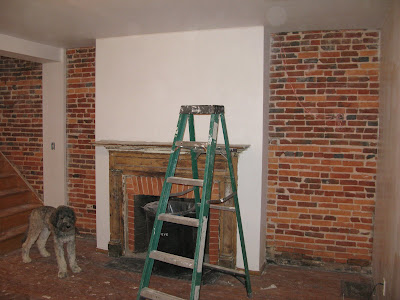
Inspections have been passed and the walls are just about covered.  Next, we'll be in the mudding phase, but here's the current:

We're hoping to start on the cabinets in the next week!  

Monday, November 17, 2008

a few steps closer to a kitchen

Work is in full swing. We are officially on someone else's schedule now that we've ordered the countertops and I have a feeling they're going to want to place them on top of actual, built and installed cabinets as opposed to the ones we currently have:

This is what cabinets from Ikea look like when you bring them home. It's probably not surprising that we have to put them together ourselves, considering the fact that even if you buy a swedish meatball at Ikea it'll come with assembly instructions. Unless you have a large vehicle, you'll want someone to help (thanks, Matt).
As far as work that's going on:
Framing - we're finally (completely) finished and covering all that hard work with drywall is proving to be rewarding.
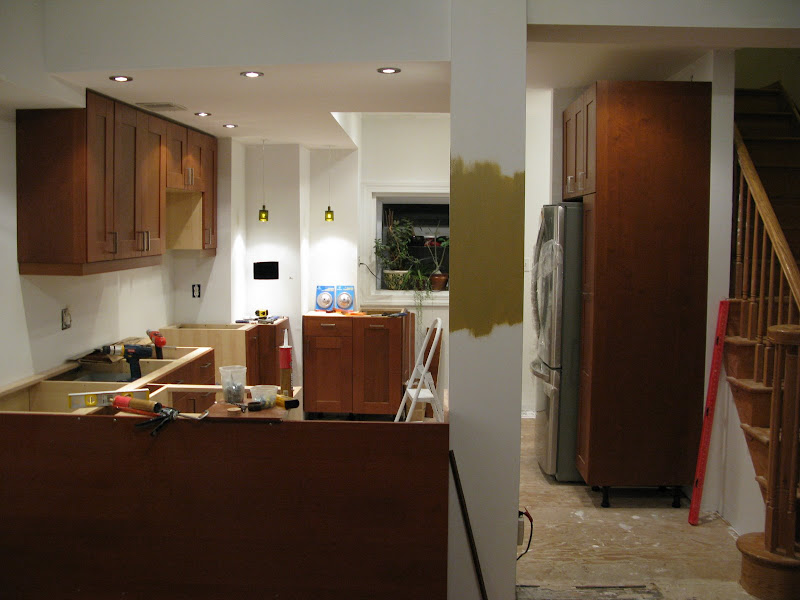
Electrical - there are now 10 lights, 5 switches and 8 outlets in the room.  About the lights - remember the previous post about recessed lighting? We ended up adding more, small recessed lights that follow the path of the countertops. They have a brushed stainless steel finish to match the appliances and their installation was about the same as the previous ones.
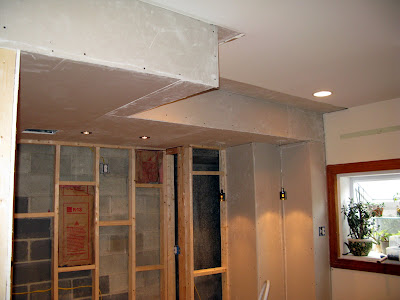
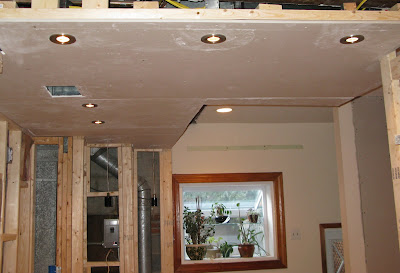
We wanted to have some pendants hanging over the 'pass through' area, but the way the soffit had to be built prevented this. There are a few small pendants hanging the opposite corner which you can see here (along with some of our beautiful sheetrock):
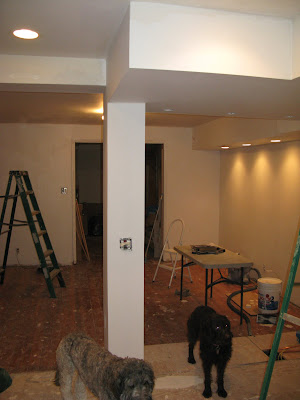
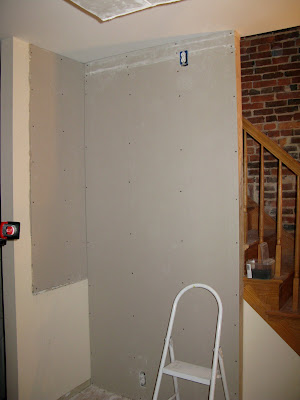
Sheetrock - we're still in the initial parts of this phase. Along with what you can see in the above pictures, here is a bit more showing the process:


We had to cover some of the opening to the stairwell. The exposed brick is still visible from the kitchen and living room. We wanted to keep it open, but there was no where else to put a refrigerator (not to mention the 92" cabinet that will be in the space also). The outlet up by the ceiling will be in a small open area above the cabinetry - we figured it would be a good idea just in case we wanted to add lights up there... it may also be used to supply power to yet another strand of Christmas lights in Craig's dreams of creating a wonderland in our home.


There is still much to do before the countertop folks come out for measurements, including plumbing, gas lines, a few electrical changes, finishing the sheetrock, fixing some weak spots in the floor, oh sweet Jesus - we should probably get to work.