Monday, April 26, 2010

cork art

If I saw a blot post title that said “cork art” it would serve as the immediate red flag preparing me for something hideous. People do truly terrible and tasteless things using wine corks.

Despite the typically tacky fate, I understand and share the mutual desire to use these little barriers in creative ways. I like the color, the aesthetic, and the fact that it’s the only thing separating me from that scrumptious nectar within. Hopefully you'll agree that we used cork in a way that doesn't rouse your gag reflex.

We started this project because we wanted something interesting behind the dart board. Because it ended up looking pretty sweet and it would have required every cork under the Tuscan sun to cover our intended area, we decided to stop at this size and hang it in the dining room.
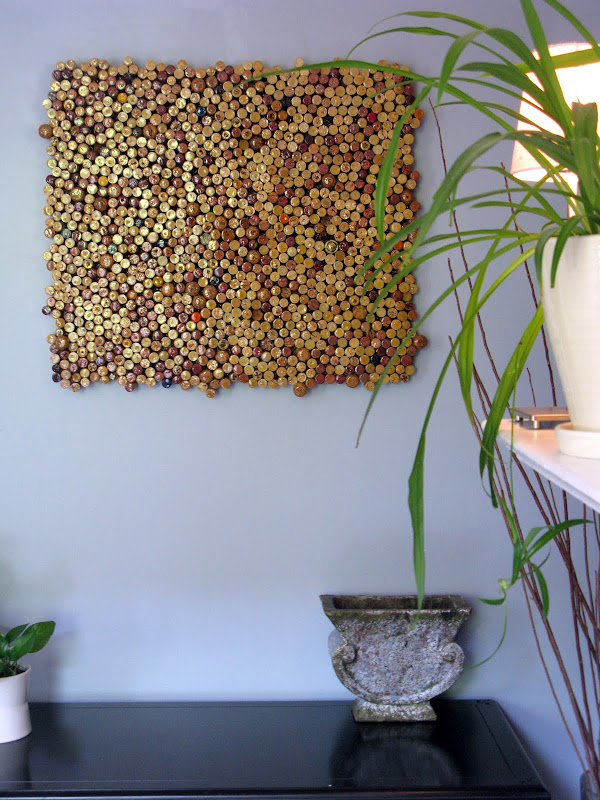


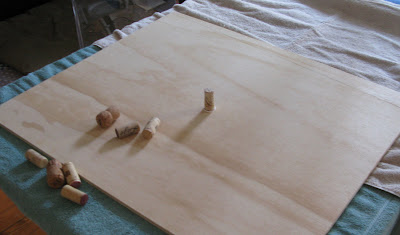
This took more corks that we anticipated. Thanks goes out to our fellow wine-drinking friends for the supplemental art supply. Of particular note is our roommates parental units, the often drunk Greg and Carol of Vermont who shipped in a box full! Other materials: plywood, mastic, construction adhesive, polyurethane and a few picture hanging supplies.

Initially I used some leftover mastic (from the kitchen backsplash) and just pressed each cork in like a tile. I went completely random, which provided a nice mix of colors and height.

The mastic worked okay, but construction adhesive proved vital for completing the edges and reinforcing loose corks throughout the center area. For the edges I allowed the corks to dictate the somewhat organic lines and tried to keep thought OUT of the process (a gift in which I excel).


Once everything was securely in place, about ten coats of leftover glossy polyurethane (from the floors) was applied over the course of a few weeks using a paint brush.

Thursday, April 22, 2010

window boxes

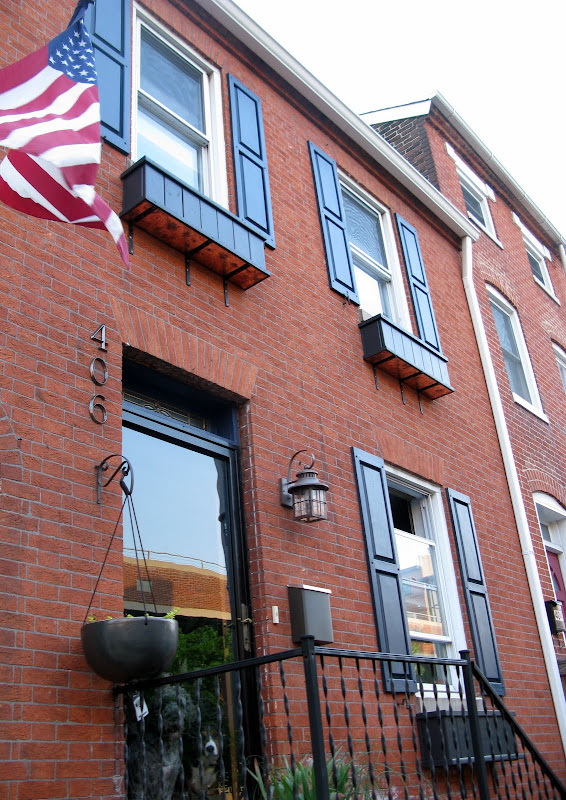
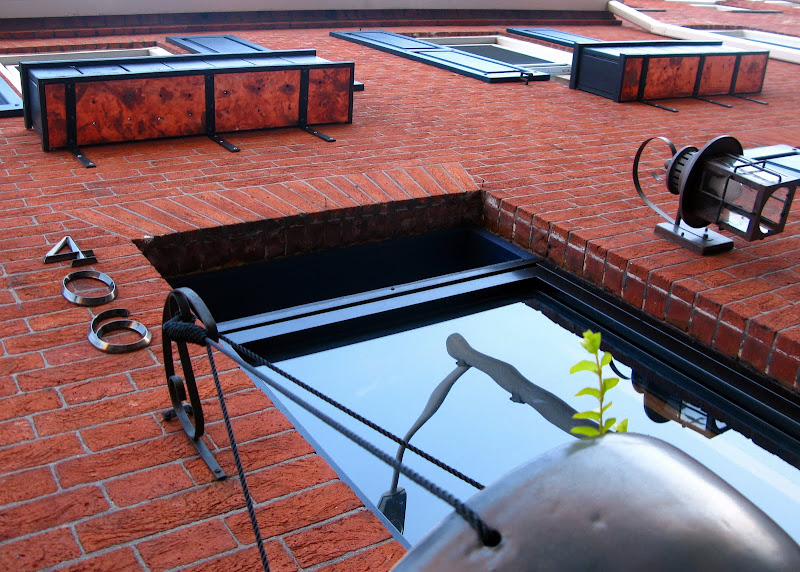
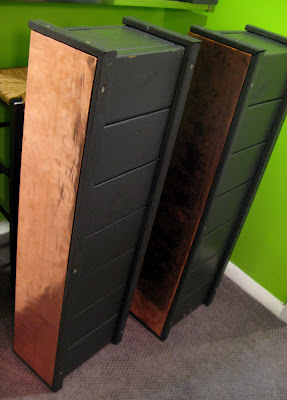
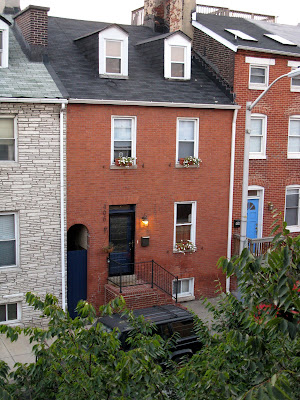
In celebration of spring we built window boxes and put up a flag. The shutters are also new [to the blog].


The bottom is lined with copper flashing to add some interest (to otherwise perfectly fabulous window boxes). We're looking forward to a patina surface as this ages.


We built and installed these ourselves. There is nothing too ingenious here. After measuring and sketching out a few design ideas we picked up the materials for about $250. Note: the copper flashing was $40 alone. This could be left out of the process if you're okay with mediocrity.

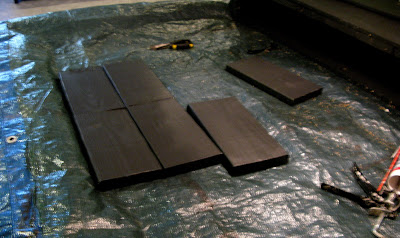
After making all the necessary cuts, we set up a painting station on the pool table. Even though we used pressure treated lumber we figured some extra weather protection was appropriate. Every side of every piece was painted. Two coats with exterior latex paint - prior to construction. (The color is Lincoln's Cottage by Valspar. aka "black")


The pieces were then taped together with duct tape. This is a lie. Outdoor, galvanized screws were used on all accounts.

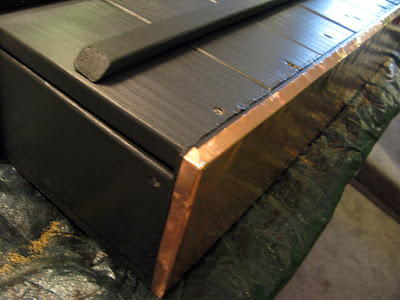
The copper flashing was surprisingly easy to work with. It cut effortlessly with some strong scissors and readily bent into shape. This was adhered to the bottom of the box using construction adhesive that is specifically designed for flashing materials.

I found that a wallpaper seam roller worked great to press the copper into the wood.


Add the trim and say, "Ta Dah".


Prior to installation, one more post-construction coat of paint was applied. I then used a nailset to punch holes through the copper for drainage (the wood was pre-drilled to keep the copper in good shape).

Can't wait to fill these with flowers!

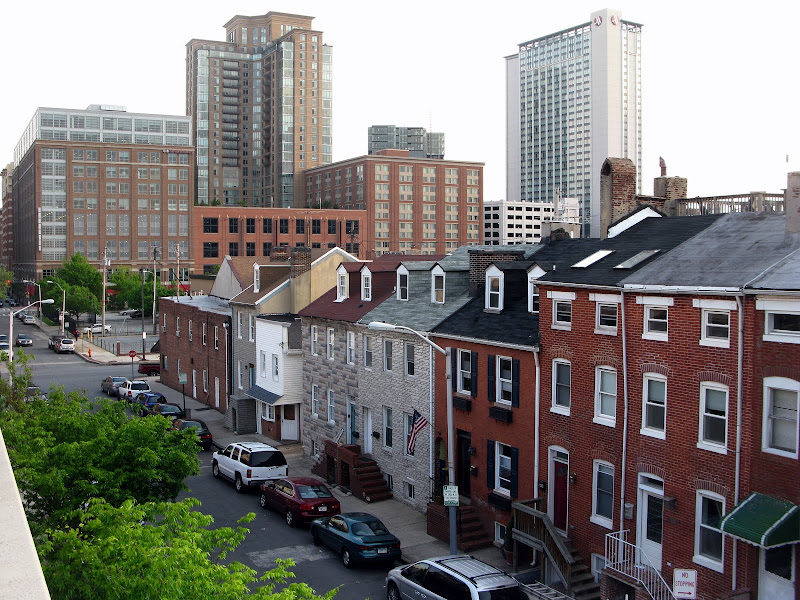
And a few more shots of Project Rowhouse:


Reminder - a before picture:

Tuesday, February 9, 2010

snowy baltimore; dining room fireplace

I recently attended a party at Leigh and Corey's place (see Baltimore Rowhouse). There was a theme: Jersey Shore. As much as I enjoy Pop Culture - this one has yet to join my television repertoire. Nonetheless, I met another "blogger" while there. Summer, who has not blogged in, like, months, pointed out that "[I] sometimes blog a lot, and then not for, like, weeks." She's sweet - and honest. I'll follow her lead and just do this when the feeling strikes - or when the snow forces me indoors for 100 hours.

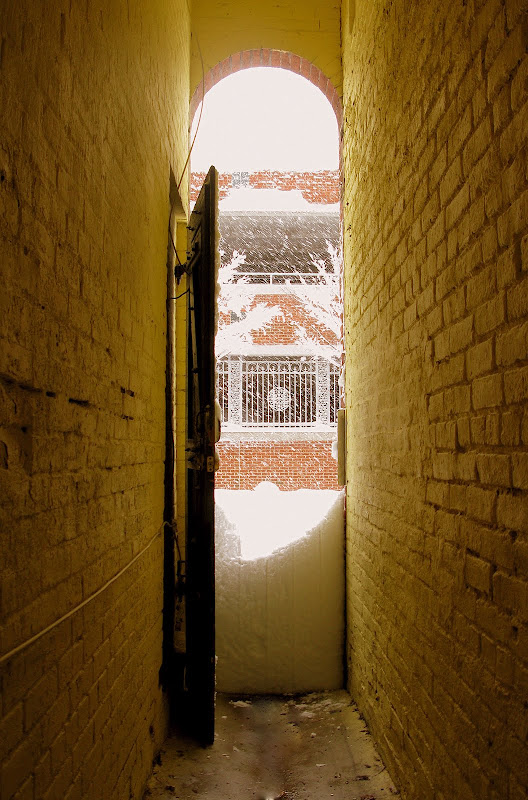
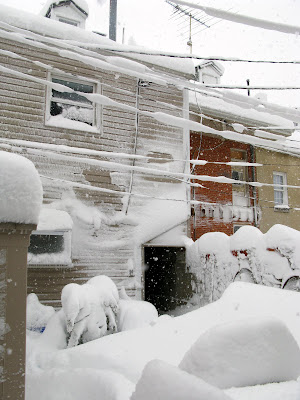
There is a ridiculous amount of snow here in Baltimore. These were taken during the first storm...


...and the day after. The backyard drifts are taller than a person - not to mention a huge dog.


Considering there is a step down when you exit that back door, this is an official crapload.

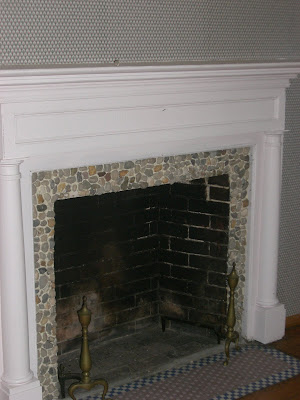
Now - Here is a before shot of this fireplace:


We first removed the rock and mastic, which left terribly damaged brick:


Unfortunately, I don't have pictures of the process. I used a fireplace safe backerboard to smooth things out. Then, I adhered a small, mosaic tile:


Wednesday, December 23, 2009

stairs

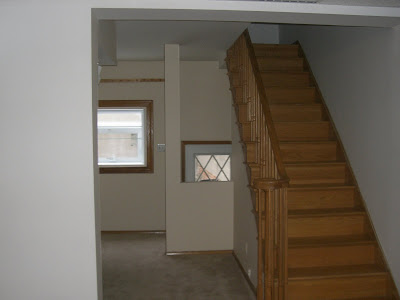
The stairwell was extra oak'y and extra ugly. This first pre-kitchen, pre-brick picture is startling.


I believe Dustin preferred the stairs go unaltered...


...but, it had to be done.

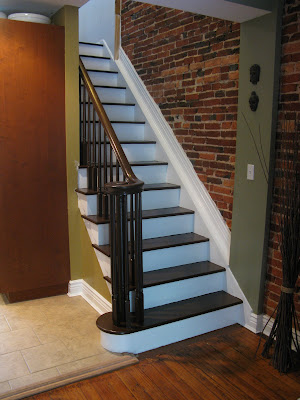
Eventually it'd be nice to install new stairs altogether - for now, some aesthetic clean-up was in order. We primed first then used a dark brown floor paint from Valspar for the treads and balusters. Some bright white trim paint for the risers finished it up.

Since I'm sure most are curious about wear and tear with painting the floor, I'll admit that we actually did this job prior to filming the show (last summer). The paint has performed quite well. For about $50 I'd say this was a worthwhile, buck-banging effort.


Yep. Lady Gaga on the TV.

master bedroom; the big show

Sorry about the hiatus.

First. A few things about the show. We'd do it all over again. Seeing the house looking fantastic on TV was quite rewarding after all the work we've done. Also, watching ourselves was surprisingly not as painful as expected. We are good looking dudes.

I can't say I agree with the results (dead last). Although, trailing behind Leigh and Corey is fine with me - they're place is beautiful. While much of the show pointed out valid points, I would have liked more credit for actually building a kitchen in a space that did not have one. Conversely, we spent less than half the budget to which we were compared... that aspect wasn't discussed on the show and ultimately feels pretty damn good.

I can say we had a wonderful viewing party. The house was jam-packed with amazing people and much fun was had.

If you missed it, the folks at HGTV can't seem to get enough of us and it's been in rotation. Additional airings:
December 30, 2009 - 11:30 AM e/p
January 15, 2010 - 9:00 AM e/p
February 16, 2010 - 5:30 PM e/p

Now, about this master bedroom.

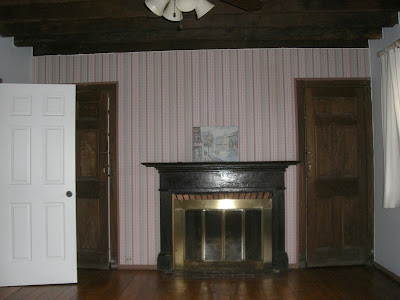
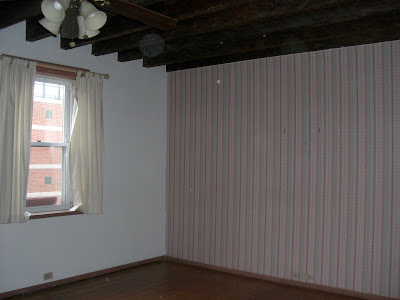
Before:


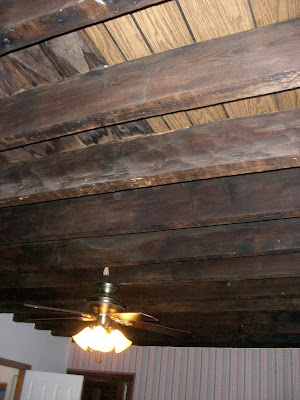
How about those beams? We tried to work with them. Ultimately, they darkened the room substantially and the lack of ceiling material allowed entirely too much noise transfer between the master bedroom and the one above on the third floor. You do not want to hear the noises coming from the master bedroom.

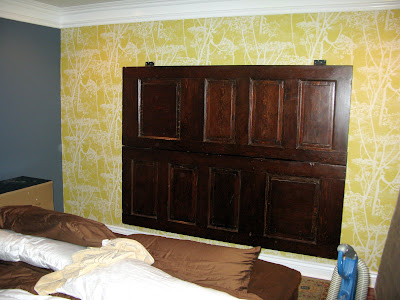
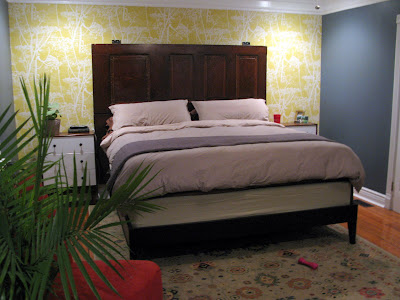
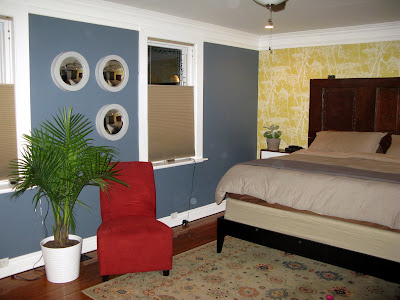
What's new? Covered the ceiling; added crown moulding; installed recessed lights and a new fan; refinished the floors; wallpapered a wall; FINALLY used those doors we spent so much time on a year ago; and have started putting it back together.

We love the king sized bed - which is resting on top of a frame from West Elm.

The side tables are an Ikea hack we saw on Apartment Therapy - $39 each (plus materials).

We think the wallpaper is stunning and give credit to Kay Ayres for helping find this. Kay is a close friend's designer Mom with a great eye. It's from Lee Jofa and installation was a breeze.


Merry Christmas from Baltimore!! Look at all this snow:


Of course - a dog picture. Here's Kanga looking sexy: