Showing posts with label headboard. Show all posts

Wednesday, December 23, 2009

master bedroom; the big show

Sorry about the hiatus.

First. A few things about the show. We'd do it all over again. Seeing the house looking fantastic on TV was quite rewarding after all the work we've done. Also, watching ourselves was surprisingly not as painful as expected. We are good looking dudes.

I can't say I agree with the results (dead last). Although, trailing behind Leigh and Corey is fine with me - they're place is beautiful. While much of the show pointed out valid points, I would have liked more credit for actually building a kitchen in a space that did not have one. Conversely, we spent less than half the budget to which we were compared... that aspect wasn't discussed on the show and ultimately feels pretty damn good.

I can say we had a wonderful viewing party. The house was jam-packed with amazing people and much fun was had.

If you missed it, the folks at HGTV can't seem to get enough of us and it's been in rotation. Additional airings:
December 30, 2009 - 11:30 AM e/p
January 15, 2010 - 9:00 AM e/p
February 16, 2010 - 5:30 PM e/p

Now, about this master bedroom.

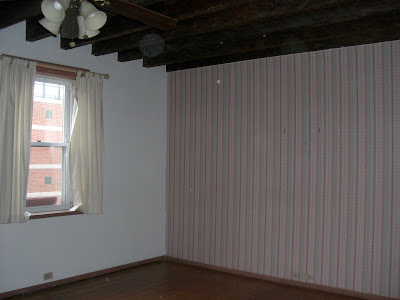
Before:
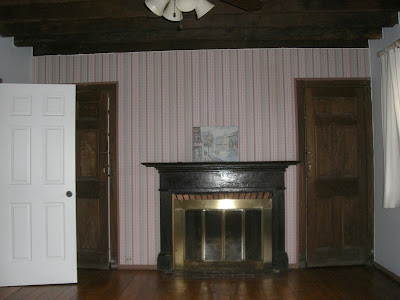


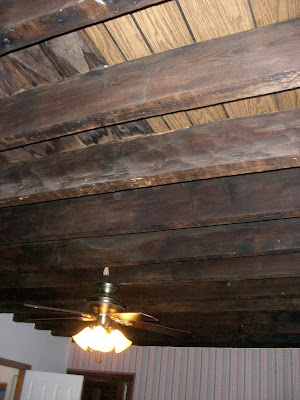
How about those beams? We tried to work with them. Ultimately, they darkened the room substantially and the lack of ceiling material allowed entirely too much noise transfer between the master bedroom and the one above on the third floor. You do not want to hear the noises coming from the master bedroom.

What's new? Covered the ceiling; added crown moulding; installed recessed lights and a new fan; refinished the floors; wallpapered a wall; FINALLY used those doors we spent so much time on a year ago; and have started putting it back together.

We love the king sized bed - which is resting on top of a frame from West Elm.

The side tables are an Ikea hack we saw on Apartment Therapy - $39 each (plus materials).

We think the wallpaper is stunning and give credit to Kay Ayres for helping find this. Kay is a close friend's designer Mom with a great eye. It's from Lee Jofa and installation was a breeze.
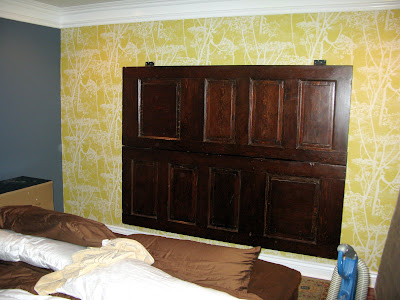

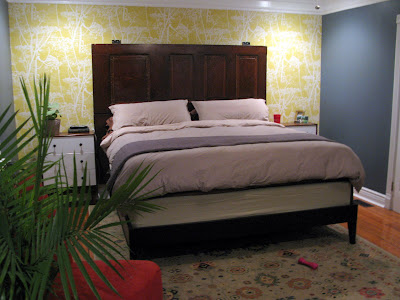
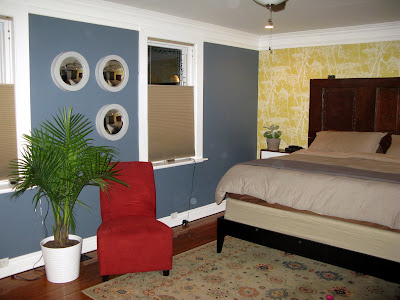


Merry Christmas from Baltimore!! Look at all this snow:


Of course - a dog picture. Here's Kanga looking sexy:

Friday, September 26, 2008

the contractors have finished

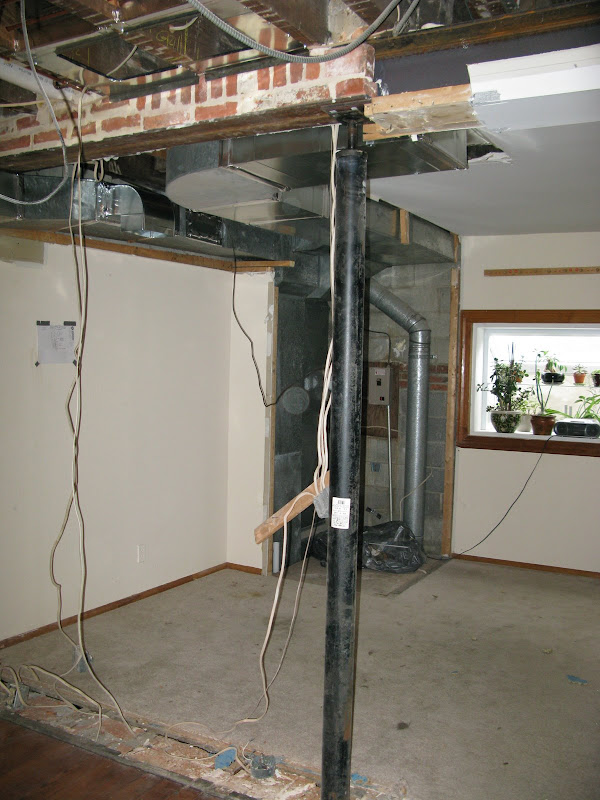
We are thrilled with the new open space! It's still a mess and we now have tons of work to do, but getting rid of this wall really helps us move forward. Here's what we're looking at:

We can't believe how much of a difference it made! The kitchen will mostly be the area where there is currently carpet (it may spill out a bit into the living room). The walk-through will be to the right of the column and to the left will be cabinetry/appliances. We've only made preliminary layout decisions, but now that we can really see the space we're going to get serious about the plan.
In the following picture you can sort of see how the ductwork is all tucked as high as possible and grouped together:

The next steps are to:
come up with the basic design;
decide where plumbing and electrical will be going;
and start the framing and drywalling process.
We'll also be drywalling the living room ceiling and the master bedroom ceiling (both are just exposed joists right now).
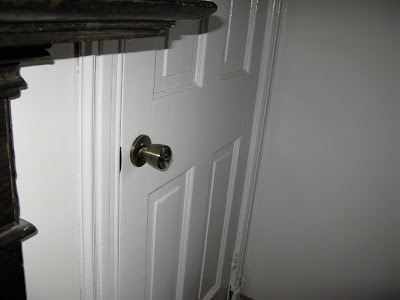
There are lots of other random jobs that will continue - speaking of, we installed doorknobs on a few closet doors. I basically followed the directions and they all work perfectly. These were doors that had no previous knobs, so there was chiseling and hole-sawing involved. Be careful, because this picture is about as exciting as hunting moose:

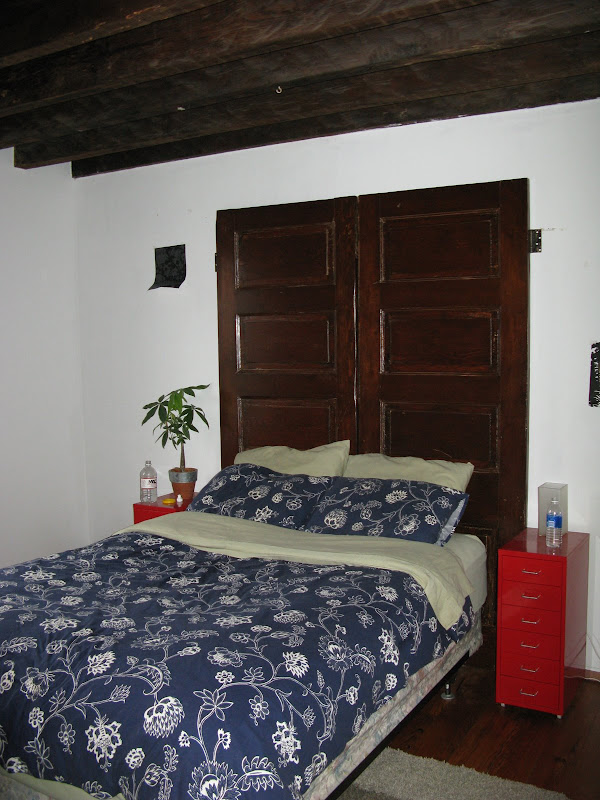
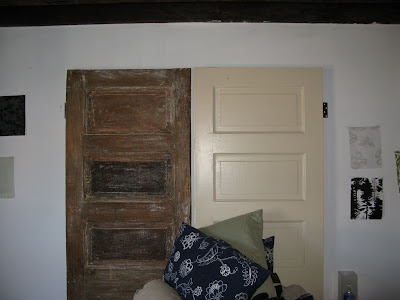
Also, upon request - here is a picture of the doors-as-headboard. There are going to be quite a few changes... actually everything will change, except for the headboard. Remember the wallpaper we were indecisive on? It's going on the wall behind the bed. The linens will certainly be changed; new side tables; the ceiling will be a solid surface - yeah, yeah, you think we should keep the beams - they look interesting in the picture, but they're a mess in person and they have to be covered. Also, the sound travels 100% through to the upstairs bedroom and that is less than ideal.

Gratuitous dog picture - ole blue eyes:

Friday, September 19, 2008

wood door headboard; stripping paint

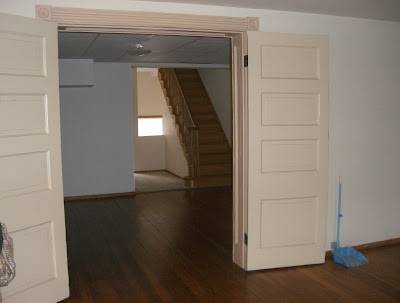
These doors used to separate the front two rooms. They're big, heavy and among the few things that are original to the house. While we definitely love them, we knew they couldn't stay there. They took up way too much space and offered no utility.


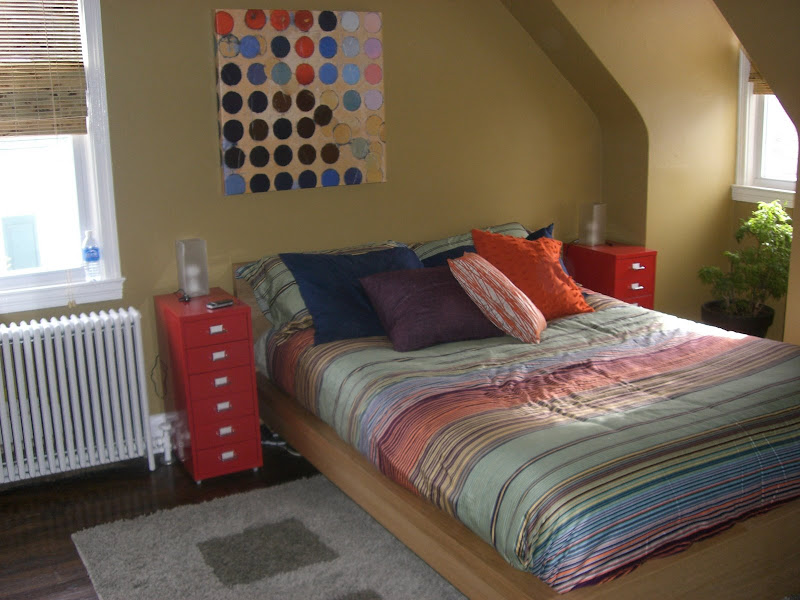
There was no question and no discussion necessary - we both knew they'd make a fantastic headboard, especially considering the fact that our current bedframe is low and we chose it because the master bedroom in our previous house had much lower ceilings. i.e.:

Ahhh, let's reminisce about the days when there were dust-free surfaces and the big decision to be made was whether or not that purple pillow should remain on the bed... ... ...
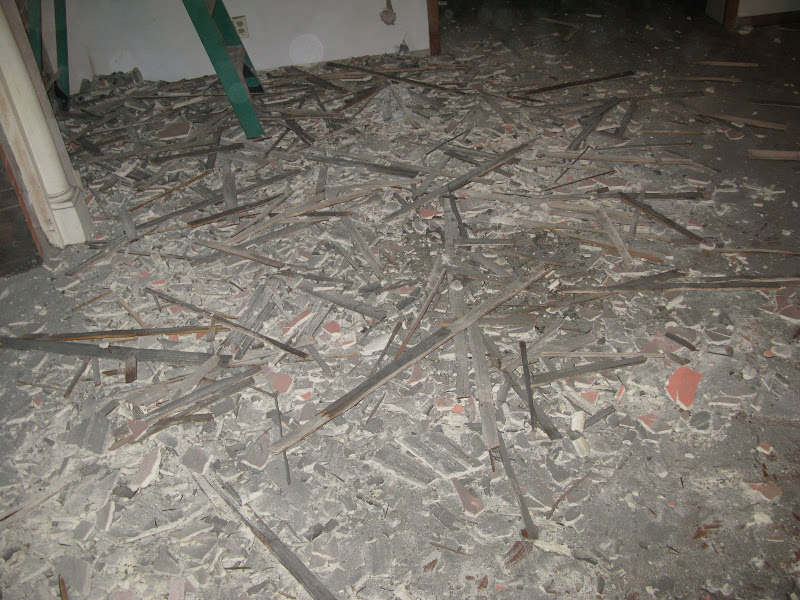
Oh that's right - this was our living room the other day:


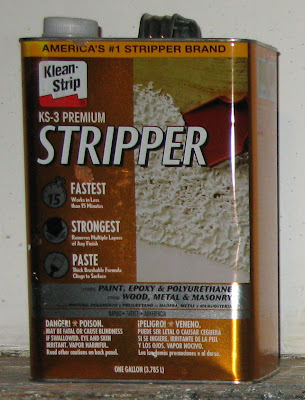
Back to the doors - stripping the paint is step one. We used Klean-Strip stripper because after all, it is America's #1 Stripper Brand.

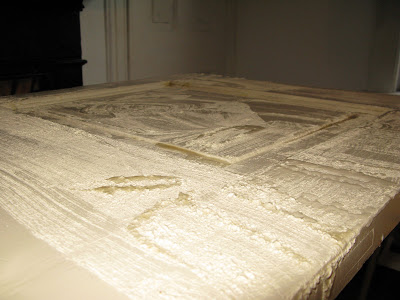
It's a gel and fairly easy to work with. The label says 15 minutes, which is a pretty convenient amount of time if you want to go crack open a bottle of wine and boil some noodles. The problem is that the label lies, which makes me wonder about their claim of superiority in the world of strippers. It actually works much faster. In 15 minutes it was dry - and everyone knows it's much better to work with wet strippers. I'd still recommend this product, as it worked quite well once we got the hang of it. We found that it's best to just keep an eye on it and start scraping a few minutes after the paint starts bubbling:

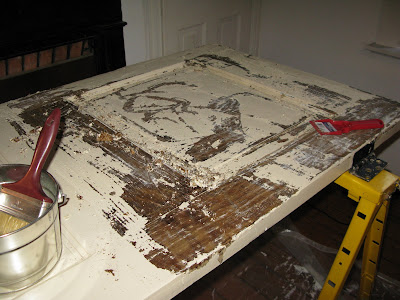
Scrape away:

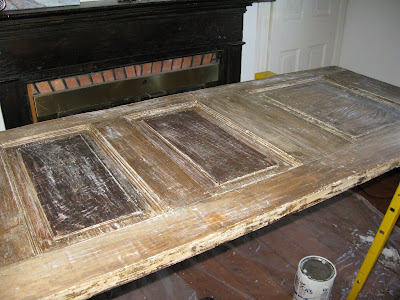
It took a few rounds of stripper despite the fact that there were surprisingly few layers of paint on the doors. We wanted to keep a worn look to them, which was a good decision considering our skill level.

Break time - and we wanted to see one behind the bed.

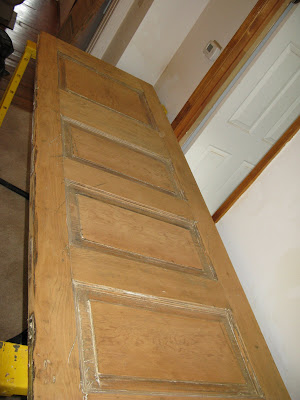
After the paint was off, they were sanded;

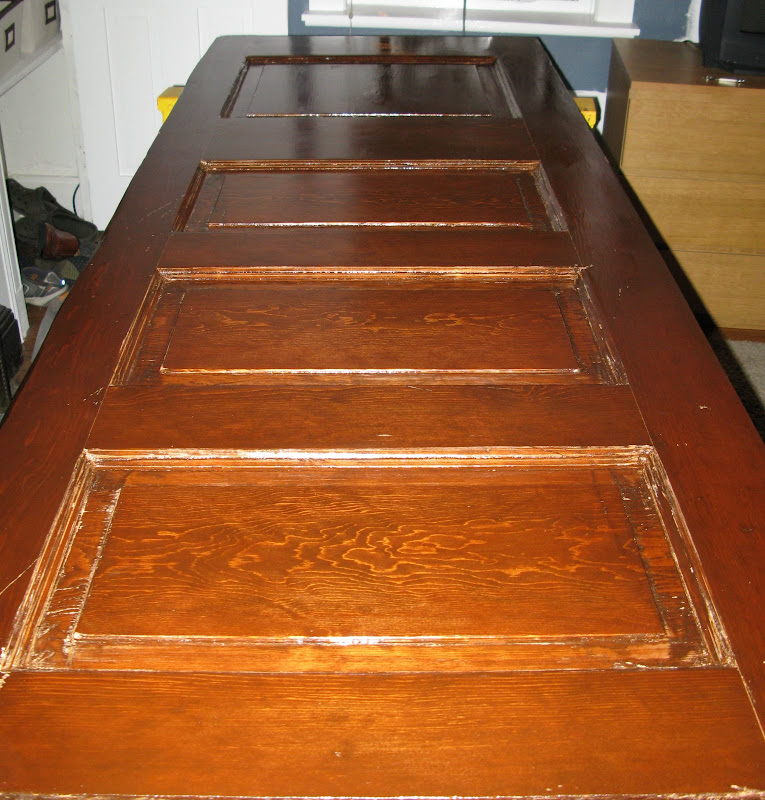
and then stained with English Chestnut stain from Minwax. After the stain, we used two coats of a satin finish polyurethane, also by Minwax. In between the coats of poly we sanded them lightly giving the final finish a nice smooth feel. Ta-dah - here we are - nicks, scrathes and all. We love 'em.


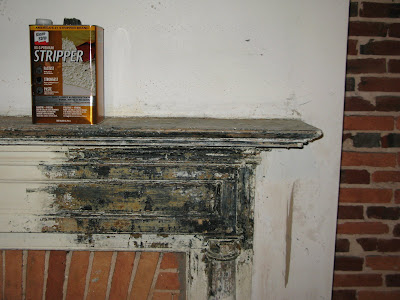
We're now working on the pair of fireplaces on the first floor... the stripper is proving less effective. There are many more layers and some of the old stains seem to be made of tar as seen here:

We traded leftover muriatic acid for a loaner heat gun with our pals Jessica and Joy. So far, so good - more to follow.

***a picture of the headboard behind the bed is in this post