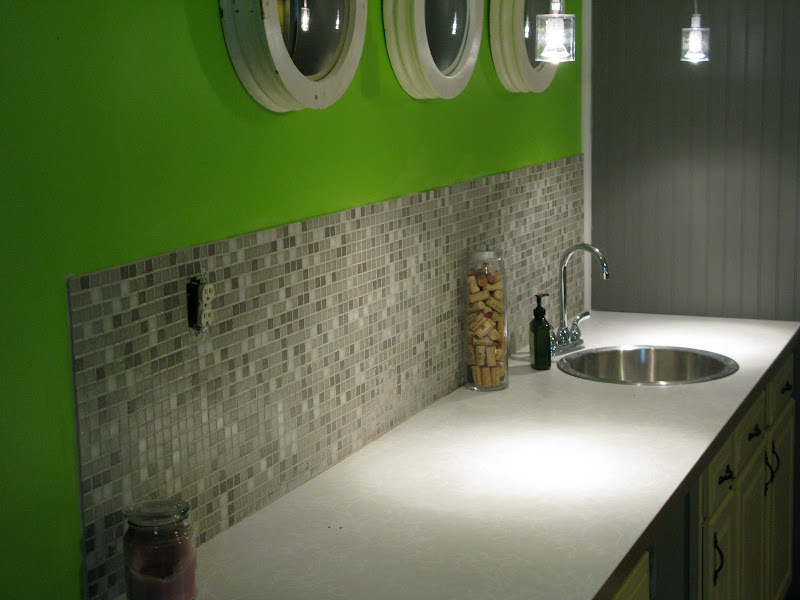
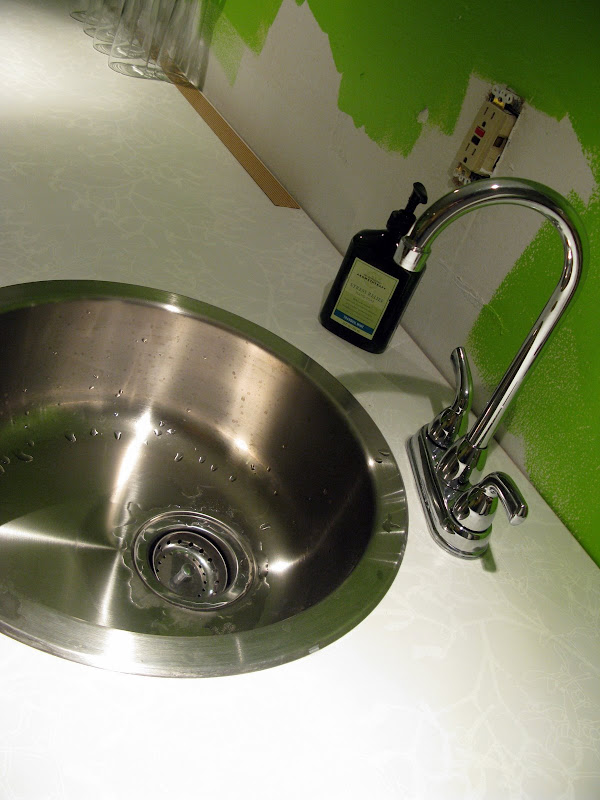
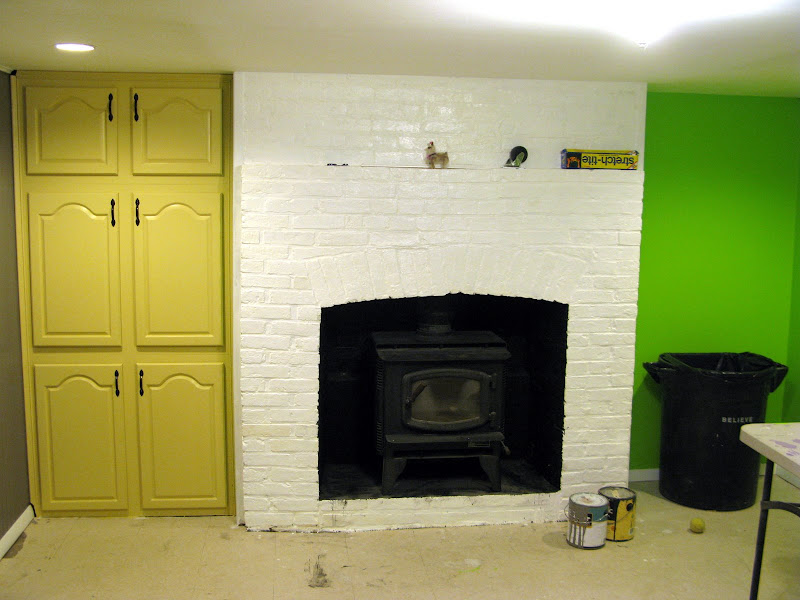
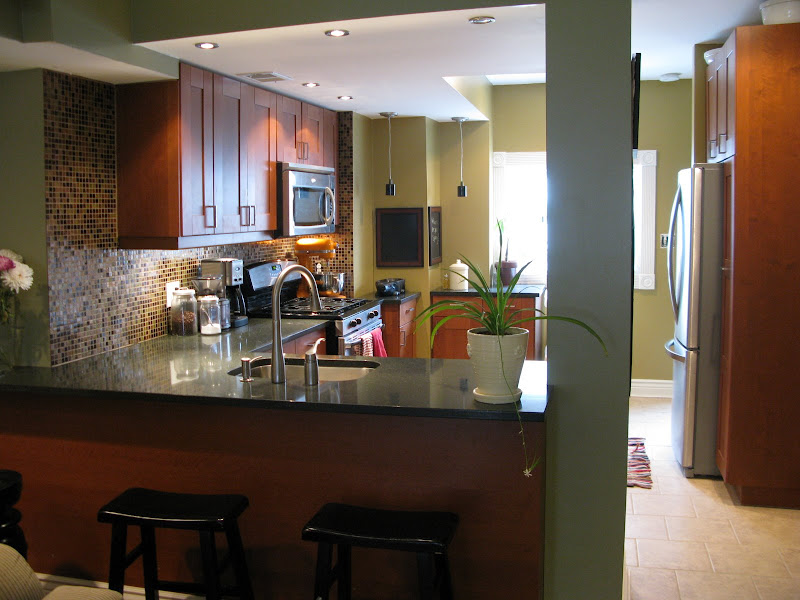
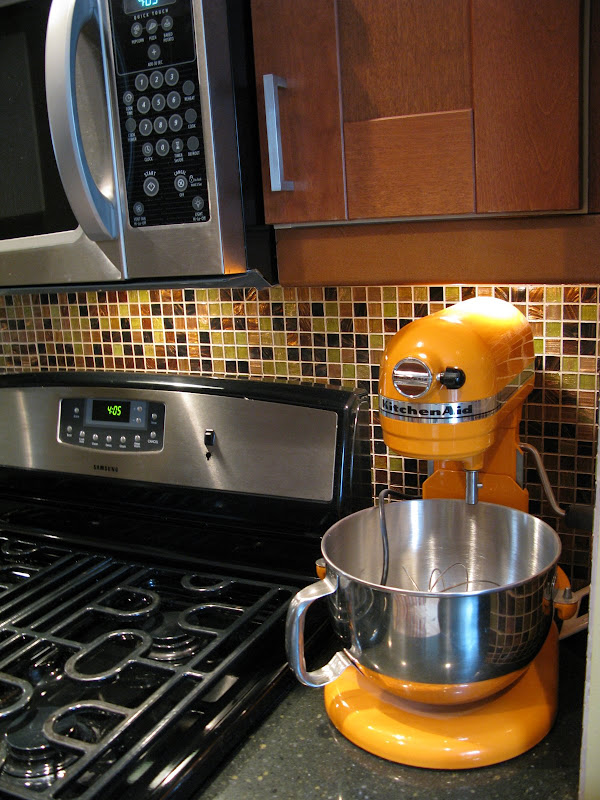
The backsplash is finally installed. It looks fantastic. If these walls could talk, I'm sure they'd say, "Mama just got some new bling and she's ready to tear up this town - outta my way."
This was an easy job, I didn't need need too many special tools and was finished over the course of a few days.
We want to give some big credit to Modwalls. In addition to being a completely friendly and helpful vendor, they have a beautiful selection of high quality tiles in a variety of colors. If you like the mosaic look and they don't have a color mix that works, you can mix up your own batch for a custom blend. As I mentioned before, we chose the Marrakesh blend for the kitchen - AND - we went ahead and got the Windy City mix for the wet bar in the basement.
There are some official installation guides here, but our process is described below.
1 - Adhering the tile to the walls - we did not use a concrete backerboard, but adhered the tile directly to the drywall. I used a V-Notched trowel with 3/8" grooves along with premixed, unsanded Mastic. When you are spreading the mastic on the wall, be sure that you're applying a thorough, yet thin and even coat. If it's too thick, when you press the tile flat against the wall it will seep up through the individual tiles. This went unnoticed in a few areas during my installation. It can be cleaned up after the mastic is dry, although this means more work. This picture from the wet bar shows some seeping mastic.

We were fortunate in that we did not have to cut any of the individual tiles to make them fit around outlets, etc. Because each tile is small, we merely cut sections out of the pattern and left the rest of the sheet intact - this worked well.
When you buy this tile, it comes in sheets that are about 12"x12". You may have sheets that have a netting on the back that sits right in the mastic - or they may have paper holding them together from the front of the tile. We had both types - see below:
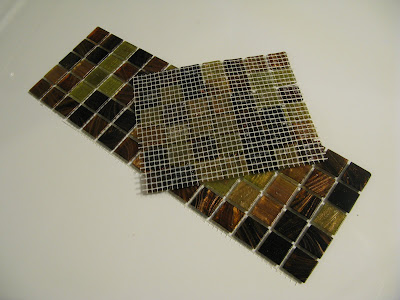

If you have paper fronted tile, you need to remove the paper after you fix it to the wall, but before everything is set firmly in place. I waited about 20-30 minutes and then started wetting the paper (sorry no picture). I found that a spray bottle worked best. When it's soaked through, the paper will easily peel away. At this point the tile fronts are exposed along with errors and crookedness. Because nothing is completely firm, you can straighten the lines. Now the mastic needs to firm up for at least 24 hours.
We had a few different edge types. I used blue painters tape which made for nice even grout lines.
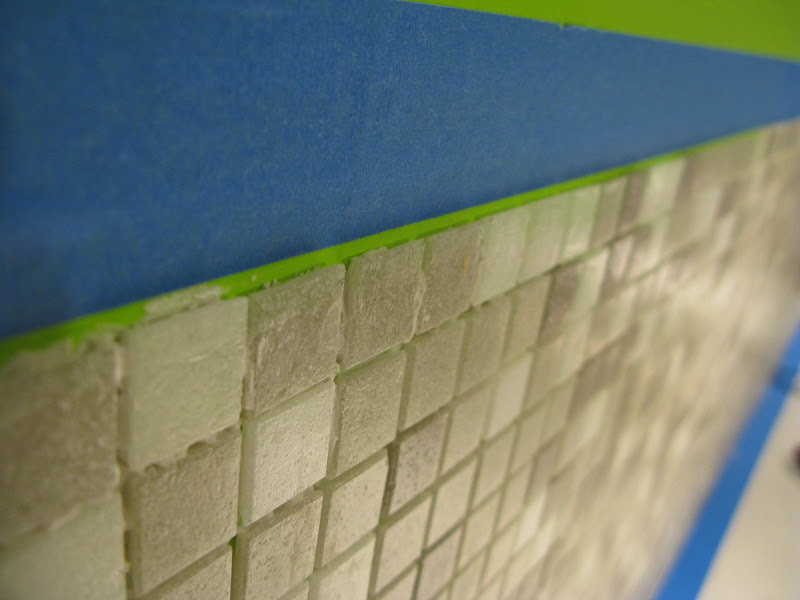
2 - Grouting - after everything is dry I suggest a good cleaning. The sooner you clean up, the easier the clean-up. Remember the seeping mastic? This needs to be completely fixed prior to grouting so the lines are all even and smooth.
With glass tile you'll want to get a non-sanded grout. There are many colors to choose from. I'm not a big fan of grout lines that pull attention from the tile itself, so we went with similar colors to the tile.
When the grout is mixed and ready to apply, I suggest having a few putty knives around and a good float. Slather the grout on the tile and start spreading it forcefully and evenly with the float in a diagonal direction to the tile.

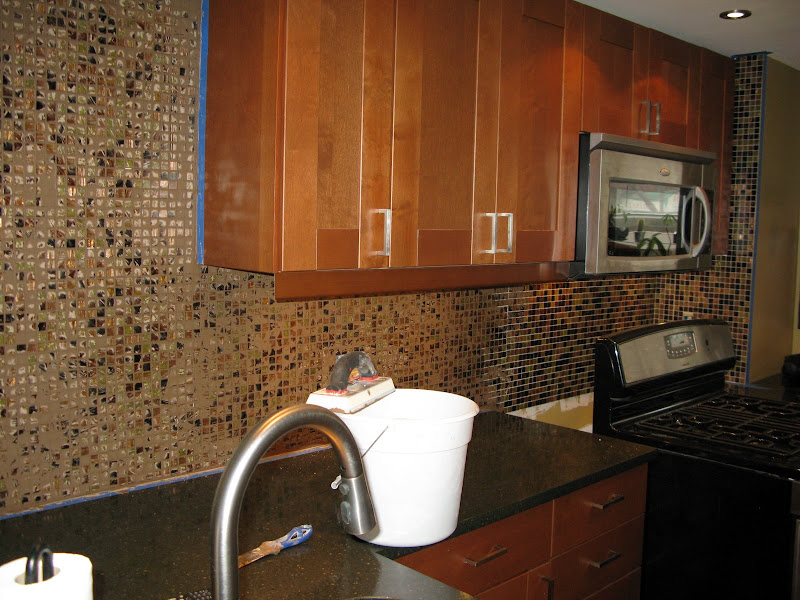
After everything was grouted, I waited about a half hour before wiping down with a damp [often-rinsed] sponge. As the remaining residue dries a haze will develop over the surface.

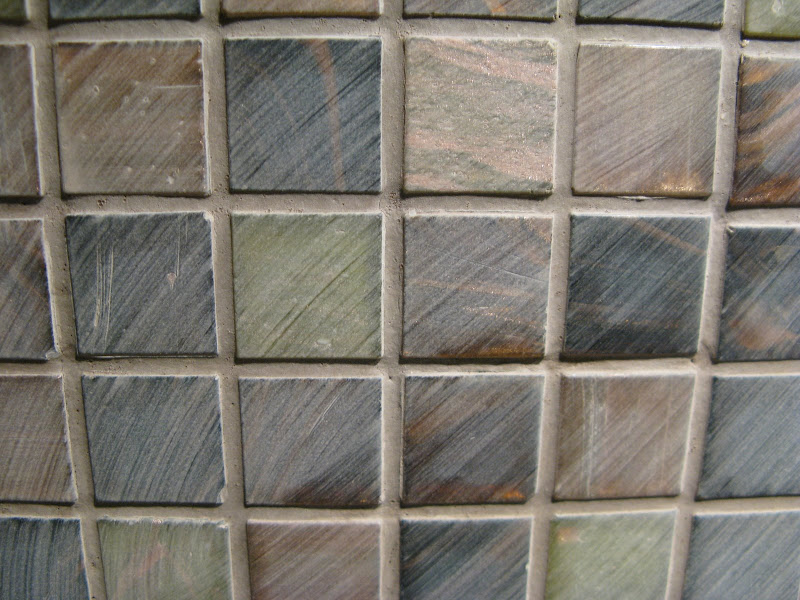
I had to come back a few times with the sponge a day later to polish everything up - but it came out beautifully!


And the basement (ignore the unfinished electrical outlet):