Showing posts with label ikea cabinets. Show all posts

Friday, December 19, 2008

countertops; painting

Not much time to write, but here’s a quick update of some big changes. 

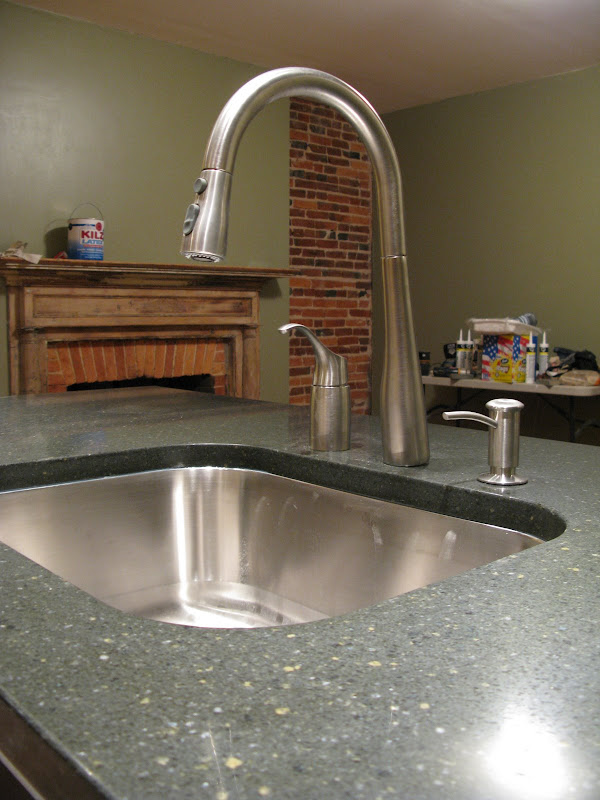
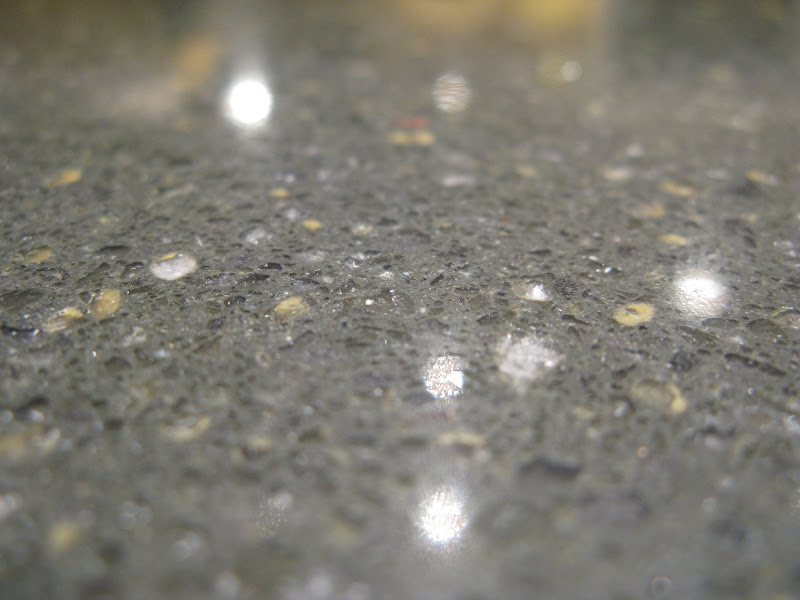
The countertops were installed (Dupont Zodiaq in Abyss Black) and we got the first coat of paint on the walls.  There is still much to do, but we’re getting there. 

What do you think of the paint colors?  I'm loving this green we chose for the living room.

Monday, December 15, 2008

cabinets

Jon: Isn’t there a Christmas movie that ends with a young boy proclaiming from his window “Merry Christmas, and peace to all” – or something like that?  It’s a snowy street, people are walking, bells are ringing, doves are flying – you know what I’m talking about?  He’s happy.  Like, Red Rider B-B-Gun happy, but not The Christmas Story. 

Craig: I don’t know – why?

Jon: I just need to know.

Craig: Is this for the blog?

Okay.  Maybe so, but I couldn’t come up with a more apropos analogy to depict my love for the way things are turning out.  “Base cabinets are in, and peace to all” – hear it?

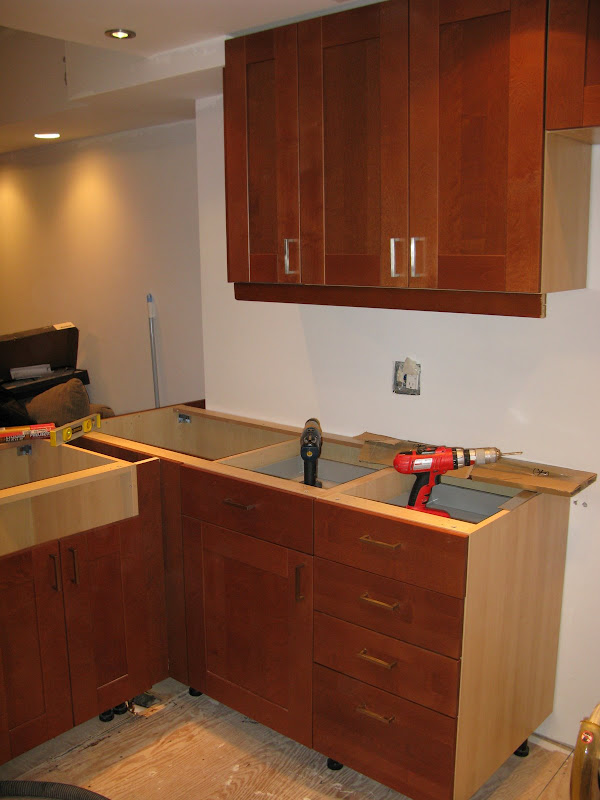
We got the base cabinets installed and the countertop contractor came out to take measurements.  It went well; he said we did a great job on getting everything level, etc.  The tentative installation date is next Friday!  We’re pretty excited – like, Red Rider B-B-Gun excited. 

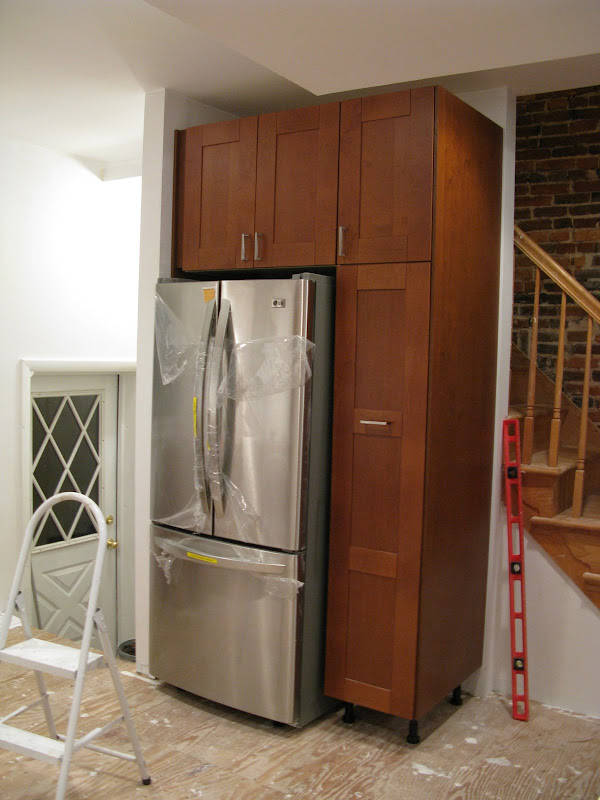
The refrigerator was also delivered.  I can’t wait to fill it with leftovers… from all the cooking, of course.


Wednesday, December 10, 2008

wood floor refinishing; cabinet installation

We got some exciting work done this weekend! 

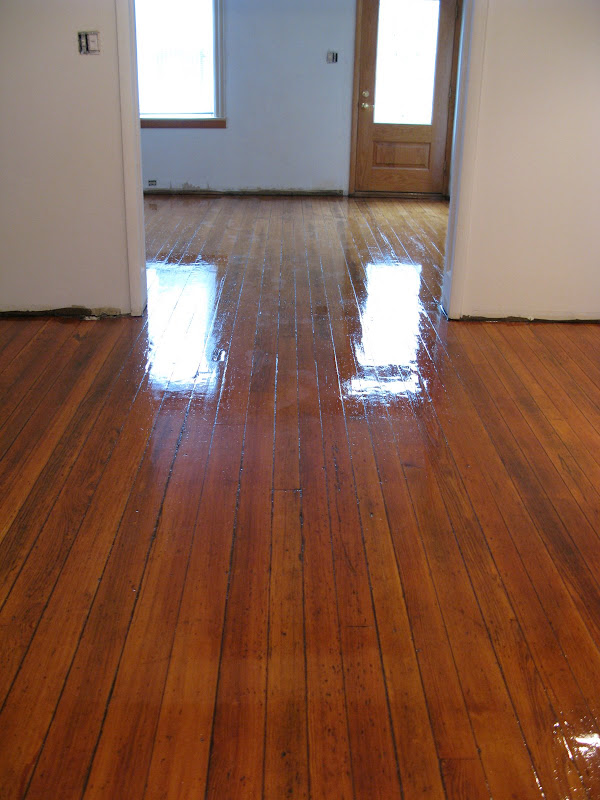
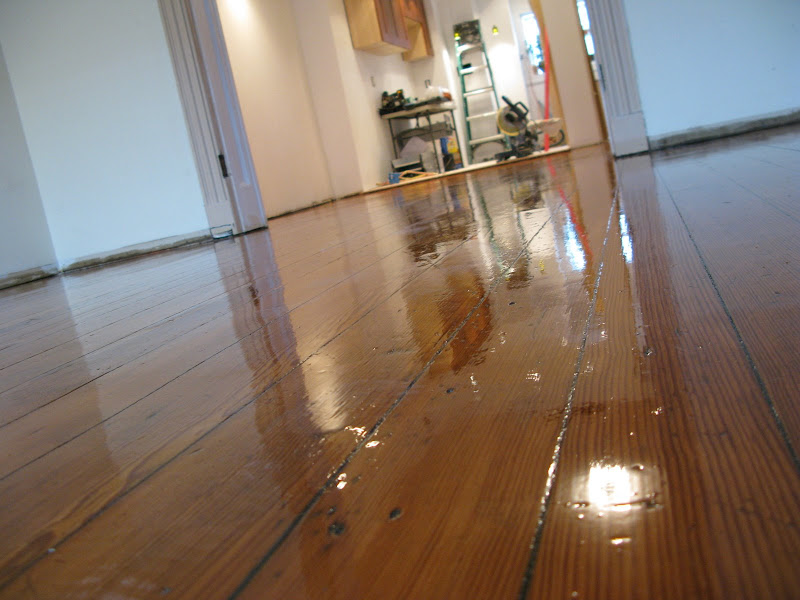
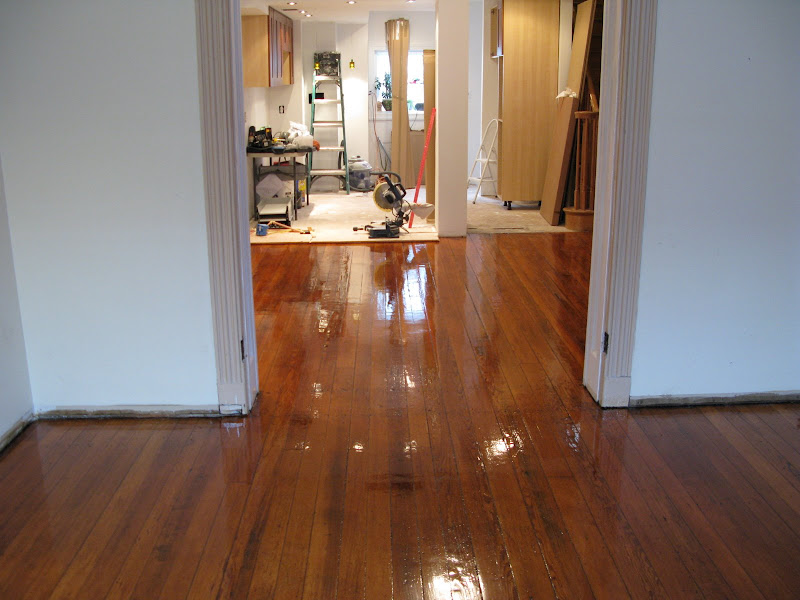
Wood floors: Firstly, I can’t believe I ever considered replacing the original floors, and here’s a thanks to those of you who openly considered my sanity.  They turned out great!  The floors had been refinished in the past and we liked the aged color and look.  They had potential.  Our goal was a super shiny, smooth floor that will stay that way - despite the canine parade.  We came up with a process that worked and we love the way they turned out.

The first step is to clean and prepare the floors.  We used the shop vac, brooms, swiffers, etc.  You’ll also need to remove the baseboards - be careful if you want to keep and reuse them as they break easily.  If you have nail heads popping up or loose boards, this is the time to fix that too.

Before:
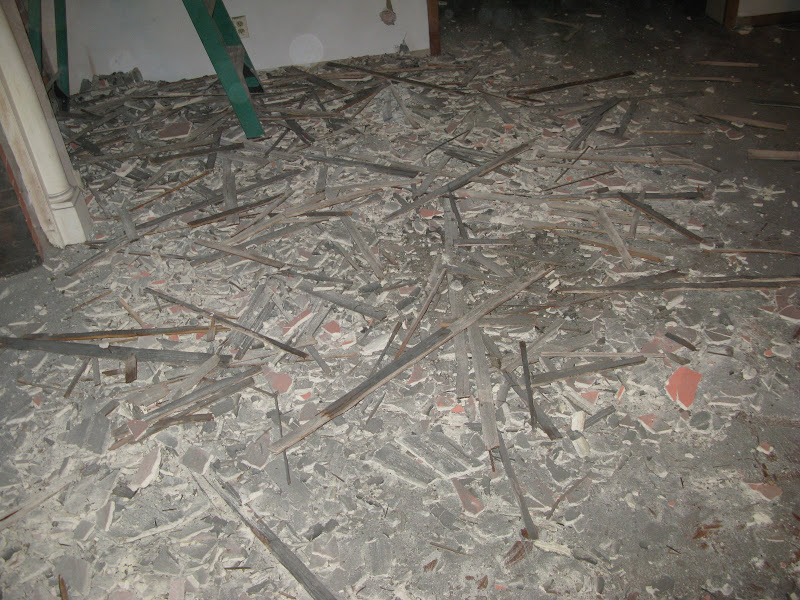
After thoroughly removing the debris, we sanded the entire floor with an orbital sander (rented from Home Depot) using a 150 grit sanding screen.  The edges and corners were done manually with a hand sander.  We were careful not to sand too deep in order to keep enough of the current finish and color (the orbital sander is simple to use and more forgiving than a belt sander).  After sanding, you should see a powdery white dust over the floor. 
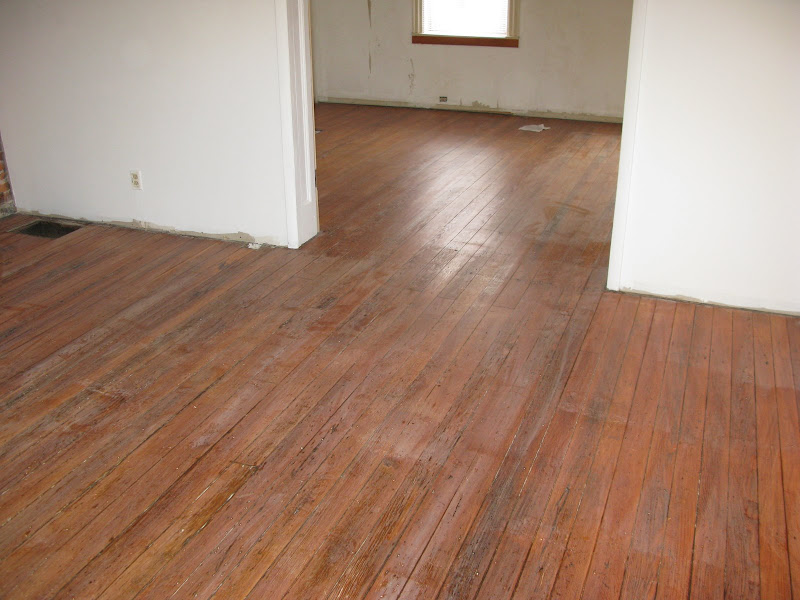
Next, we dusted thoroughly with swiffer pads and followed up with mineral spirits using a lambswool applicator.  This step was imperative in our case due to the waxy buildup over the years.  If the wax is not completely removed it can affect the finish at the end.  The mineral spirits also cleans up any dusty layer that might be left and leaves the floors free of residue.  We went over the entire floor twice to ensure that it was clean and ready for the first coat of polyurethane. 

We used an oil based, gloss by Minwax – I’ve used water-based poly before and while I know it can be argued that it’s a better choice, I feel like the oil-based was easier to use.  One big difference is that there were no wet edge problems.  This is partly due to it’s slow drying time (18-24 hours before the second coat can be started).  Even though it took longer, we're much happier with the results here than in our previous house. 
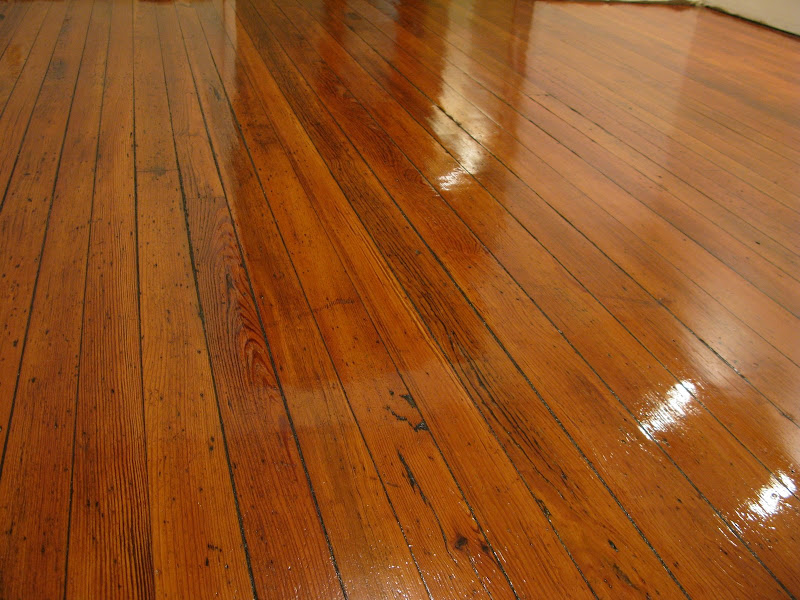
We allowed the floors to dry and lightly sanded them again with the orbital sander (150 grit).  You’ll get the white powdery residue again (swiffer, then more mineral spirits with the applicator) – let the mineral spirits completely dry and hit it again with the same poly I mentioned above. 
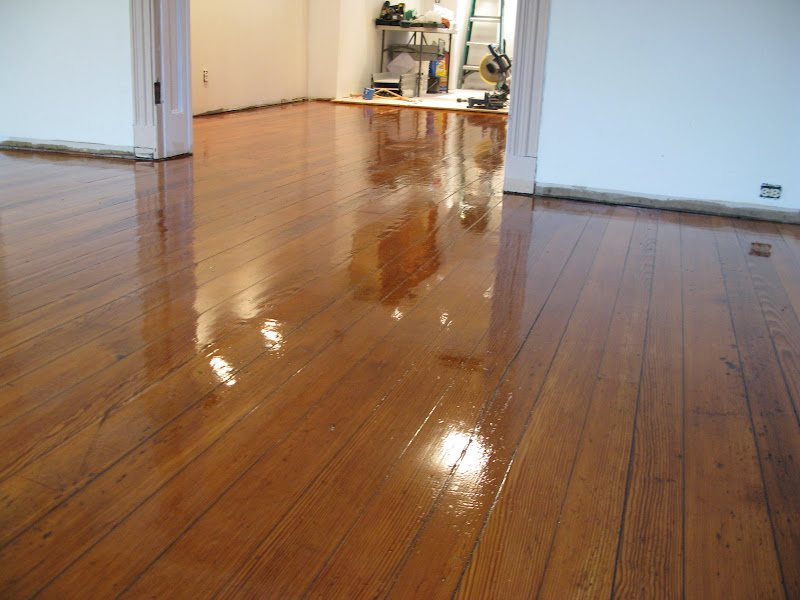
We love them – so much – I think they might be pregnant. 

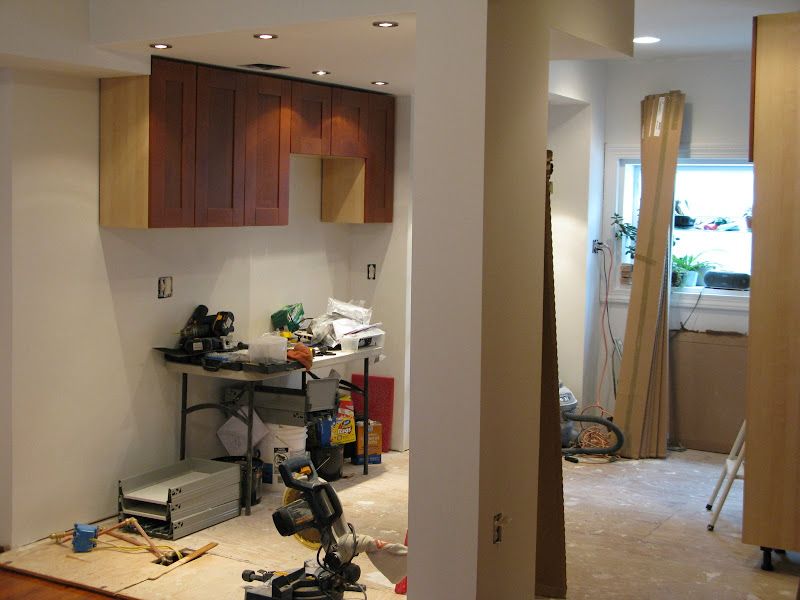
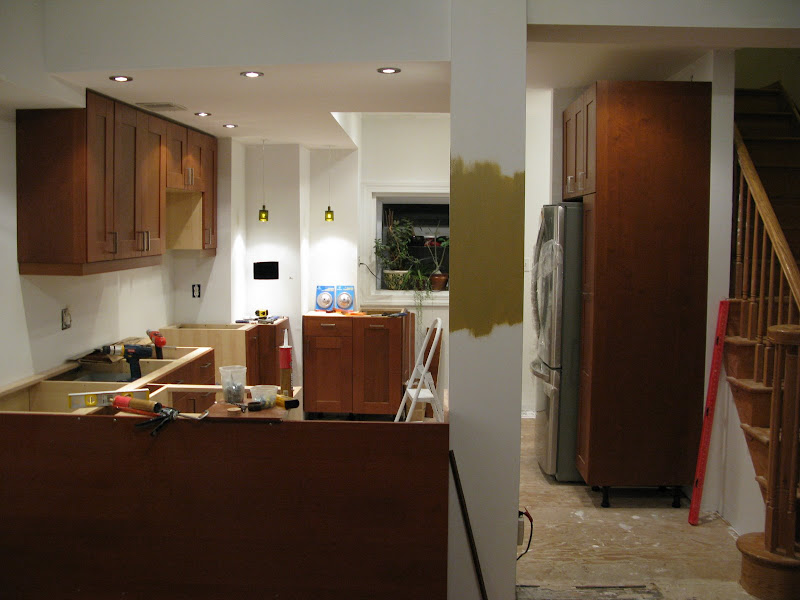
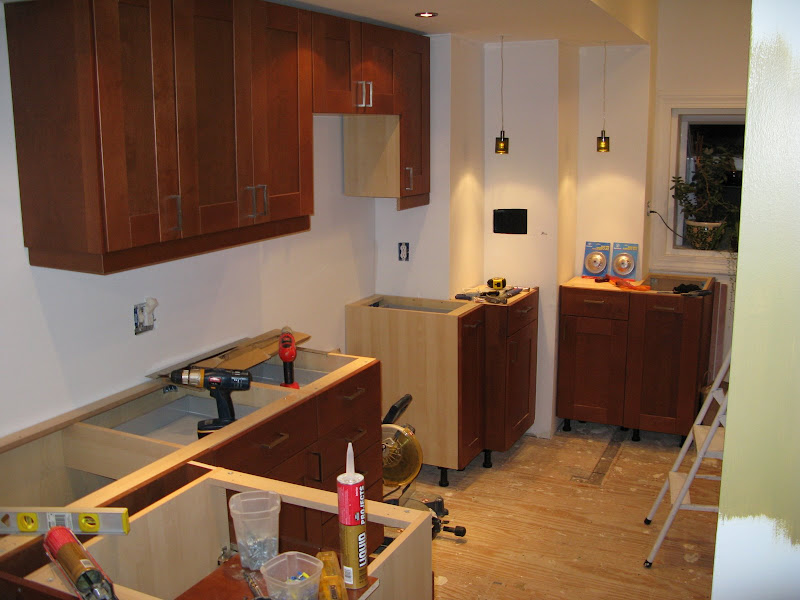
You can also see that we started the cabinet installation!  I think that needs one more exclamation point.    !

They’re Ikea Akurum in Adel.  The finish is called Medium Brown.  Medium Brown is a rare species of tree only found in the forests of Sweden.  Couldn’t Ikea come up with a name involving more than just adjectives? 
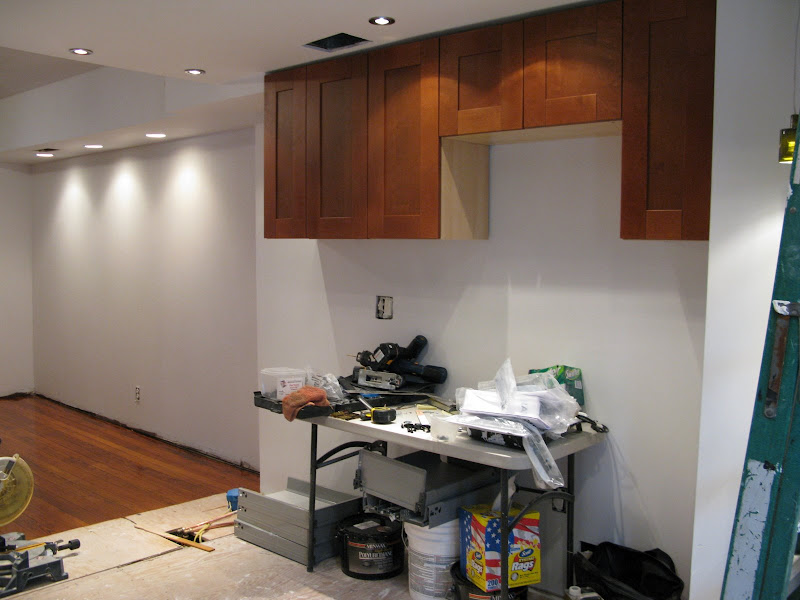
Ta-Dah!

Monday, November 17, 2008

a few steps closer to a kitchen

Work is in full swing. We are officially on someone else's schedule now that we've ordered the countertops and I have a feeling they're going to want to place them on top of actual, built and installed cabinets as opposed to the ones we currently have:

This is what cabinets from Ikea look like when you bring them home. It's probably not surprising that we have to put them together ourselves, considering the fact that even if you buy a swedish meatball at Ikea it'll come with assembly instructions. Unless you have a large vehicle, you'll want someone to help (thanks, Matt).
As far as work that's going on:
Framing - we're finally (completely) finished and covering all that hard work with drywall is proving to be rewarding.
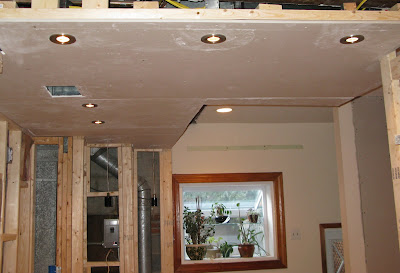
Electrical - there are now 10 lights, 5 switches and 8 outlets in the room.  About the lights - remember the previous post about recessed lighting? We ended up adding more, small recessed lights that follow the path of the countertops. They have a brushed stainless steel finish to match the appliances and their installation was about the same as the previous ones.
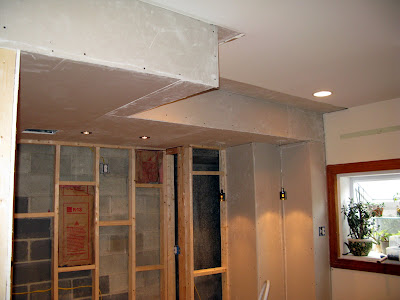
We wanted to have some pendants hanging over the 'pass through' area, but the way the soffit had to be built prevented this. There are a few small pendants hanging the opposite corner which you can see here (along with some of our beautiful sheetrock):

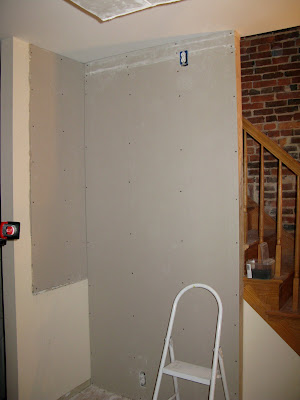
Sheetrock - we're still in the initial parts of this phase. Along with what you can see in the above pictures, here is a bit more showing the process:


We had to cover some of the opening to the stairwell. The exposed brick is still visible from the kitchen and living room. We wanted to keep it open, but there was no where else to put a refrigerator (not to mention the 92" cabinet that will be in the space also). The outlet up by the ceiling will be in a small open area above the cabinetry - we figured it would be a good idea just in case we wanted to add lights up there... it may also be used to supply power to yet another strand of Christmas lights in Craig's dreams of creating a wonderland in our home.


There is still much to do before the countertop folks come out for measurements, including plumbing, gas lines, a few electrical changes, finishing the sheetrock, fixing some weak spots in the floor, oh sweet Jesus - we should probably get to work.