Tuesday, October 21, 2008

finally - roughing in...

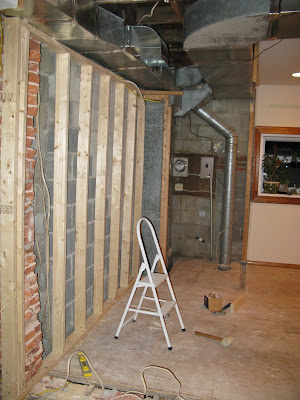
...that is, we finally started. I don't have much advice on roughing in walls (i.e. framing) - ambition overcomes ignorance, right? Describing ambition is something I'll work on later, for now I'll just show a few pictures.

There are nuances to each and every room, especially in these odd and old - I mean unique and character'filled - houses. You should be thinking ahead like Bobby Fisher. Assess the entire room every five minutes and consider what you're working around.

Horizontal:


Vertical:


A little work, a lot of thinking - hopefully the rest of the week is productive as well.

Right now we're enjoying the crap out of this candle - autumn leaves by yankee candle.  It's a bundle of crisp fall leaves, cinnamon and Christmas tucked warmly into a granny-knitted blanket.  

Monday, October 20, 2008

furniture; internet stuff

I've been meaning to post about some furniture we recently got for a steal. A friend was moving to Los Angeles and unloaded just about everything she had. We were among the mob of benefit-reapers. Thanks, Nancy. Project Rowhouse has quite a bit more square footage than the previous house, so we're always on the lookout for random pieces of furniture. One item we were desperately in need of was more couch space for the current living area. The one we've had for the past few years can't get through the stairwell to the basement, but this one did - and we can eventually move it to one of the extra bedrooms where it doubles as a full bed:

Kanga brought out the devil eyes - watch out.

This desk is pretty sweet and fits in this open office area on the third floor.


We planned on having a hammer and nail filled weekend, but in the spirit of learn-as-you-go we realized some of the wall areas we wanted to keep had to be removed and redone. So, we ended up doing a lot more demo and cleanup. Hopefully productivity is in our future and I'll give a better update.

I did get around to organizing the internet router/hub/hard drive to it's hopefully permanent location. It had been resting in a beautiful nest of it's own wires, dust and chunks of drywall in the corner of the future kitchen. To prevent the possibility of something hatching from within we decided to clean it up and mount it:

Monday, October 13, 2008

shopping; recessed lighting

As planned - we did some major shopping this past weekend. I love the big box stores. A lot. I assume everyone loves these stores. It's fun to shop there. It's even fun when you leave and realize you've spent twice as much as you hoped. Fortunately, we over estimated this trip and left the place under budget. The biggest problem - some of these big shopping trips involve as much manual labor as digging a canal. We considered having them deliver the drywall and lumber for $90.00 - because, one) we couldn't fit any of the items in our CR-V and, two) having someone else carry the stuff into the house would have been a welcome luxury. Instead, we rented a truck from the store for about $30, saved about $60 and our biceps are wondering how a day without the gym ended like this.

So it doesn't look like that much, but that's thirty sheets of heavy drywall.
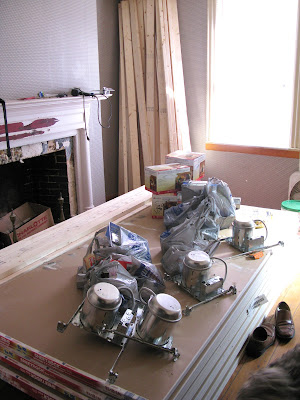
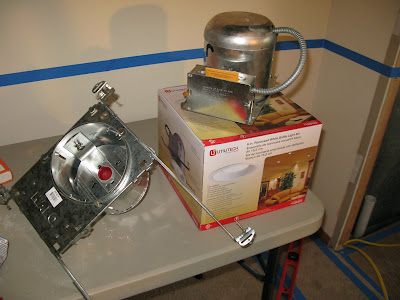
Okay, on to the recessed lighting. We found out during the research and shopping that there are two basic differences in recessed lighting fixtures. One is for a remodel and one is for new construction (i.e. no drywall).

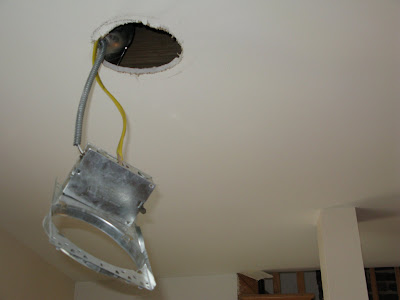
We had a need for both - the one the left is for new construction: see the long braces? Those allow you to brace the light fixture in between two ceiling joists. This is ideal and keeps the housing firmly in place. The fixture on the right is set up for a remodel - which is what I did today. The lack of braces lets you shove the fixture up through the ceiling and into place. Here you can see the fixture half way into the ceiling:

And now, into place:

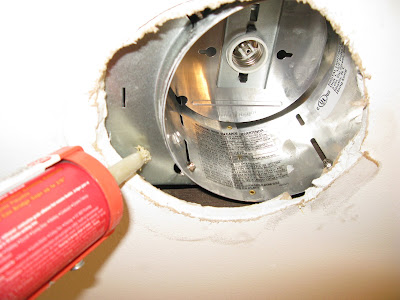
This next step was upon suggestion from the home improvement store lighting guy. Apparently, if you follow the typical remodel instructions the light can eventually lean or become loose from the ceiling, but some Liquid Nails will keep everything in place:

Finish installing the trim, return the power and voila! ...one step closer

Wednesday, October 8, 2008

kitchen planning

The initial excitement we had that the contractor's were finished has passed and it's time to get back to work. We took a little break and I've been under the weather. We have been tinkering around with a few small projects and repairs, but mostly we've been getting more serious about the kitchen plan.

There are obviously many ways to think about how you want your kitchen to function and look. We like the fact that we were truly starting with a blank slate. I can imagine that if plumbing and electrical was already in kitchen-shape that we would constrain our plan to fit. We found that the easiest way to think about it was to draw a scale floor plan and cut out scale models of the cabinetry options. It was a bit tedious at first, but definitely an exercise worth doing.
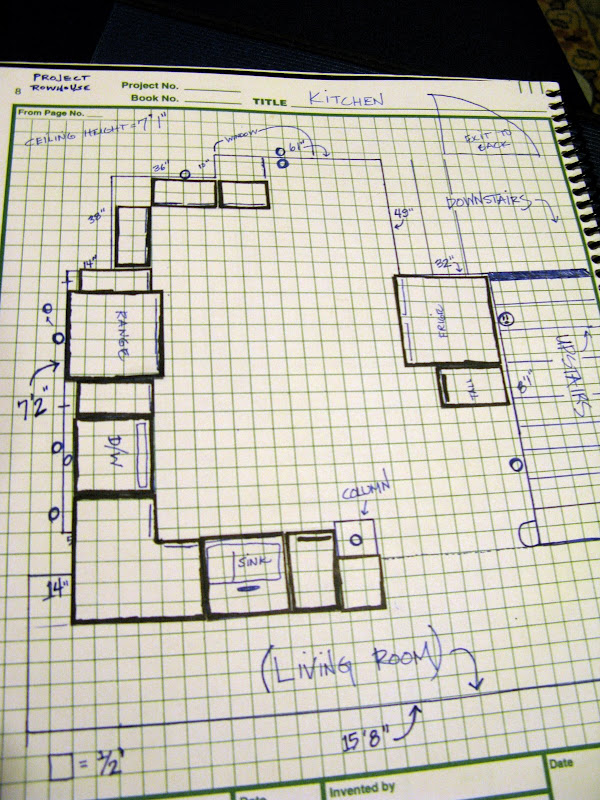
We then taped out the layout on the floor to see how it feels walking through the room - it's looking good.

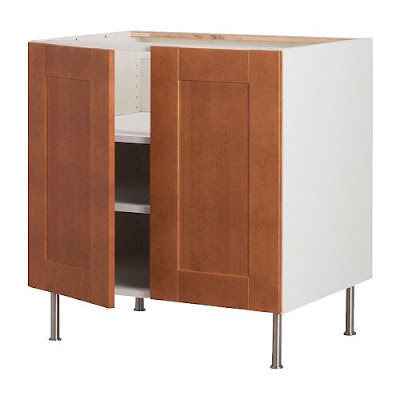
For cabinetry we decided on Ikea Akurum cabinets. There are many opinions on Ikea and their durability. If you do some research you'll find that an overwhelming majority feel that you can't beat them for the price. Of course, custom cabinetry - or other high-quality cabinetry - would be great, but saving money is important right now. We also had Ikea cabinets in our previous house and they were pretty great. Never had problems, cleaned up nicely and adjustable enough to fit everything we have. This color is Adel Medium Brown:
Ikea also has a nice kitchen planner tool that you can use to help decide layout decisions. While it's a nice tool, I found it easier to do the paper cutouts and then translating that into the program. It does create some nicer looking pictures of what we want:
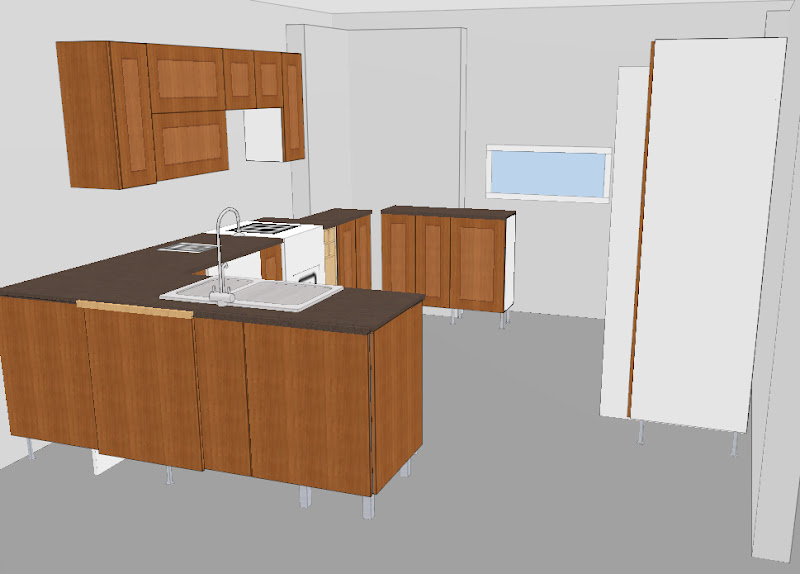
The column will be there at the end of the "L". View from above:
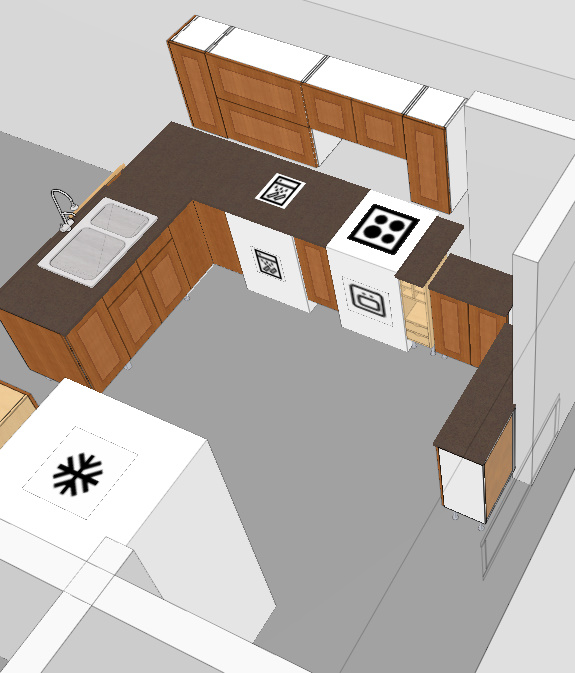
There is actually more counter space than Ikea's planner allows, but this give you an idea.
Speaking of countertops... we've decided on Silestone. This is made from quartz and apparently harder and more stain resistant than Granite and other choices. It's also really beautiful. We are going with a dark, almost black color. This is called Stellar Night:

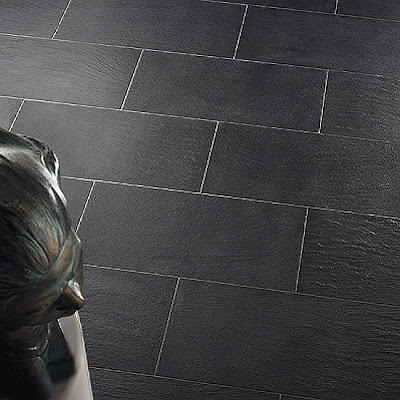
As for the flooring, we want to do something natural looking - and we're leaning toward slate options. We like something like this:
The backsplash has only been vaguely talked about, I like the idea of having a solid, slightly earthy green:
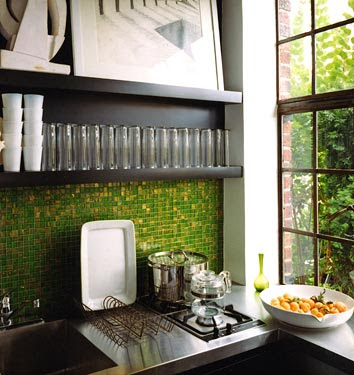
or;
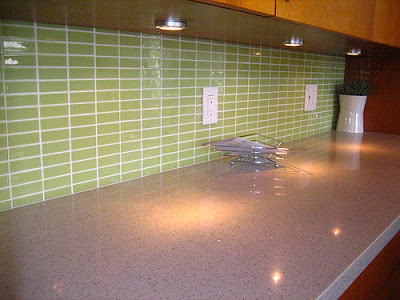

In other news, we started getting a more serious supply list for the framing and drywall work we are about to start. Hopefully we can go this coming weekend and pick it all up - that'll keep us busy for a while. I did find out today that the exposed joists in the living room are remarkably level! We expected to have quite a bit of leveling and shim'work to even things out - but apparently the folks who built this house 200 year ago weren't messing around - thanks, dead guys.

I hope you were as meticulous in the master bedroom...

Friday, September 26, 2008

the contractors have finished

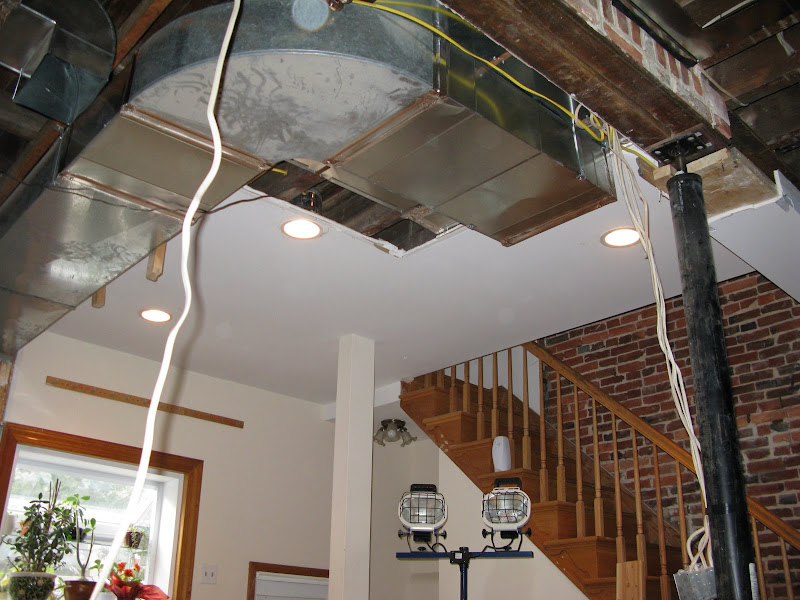
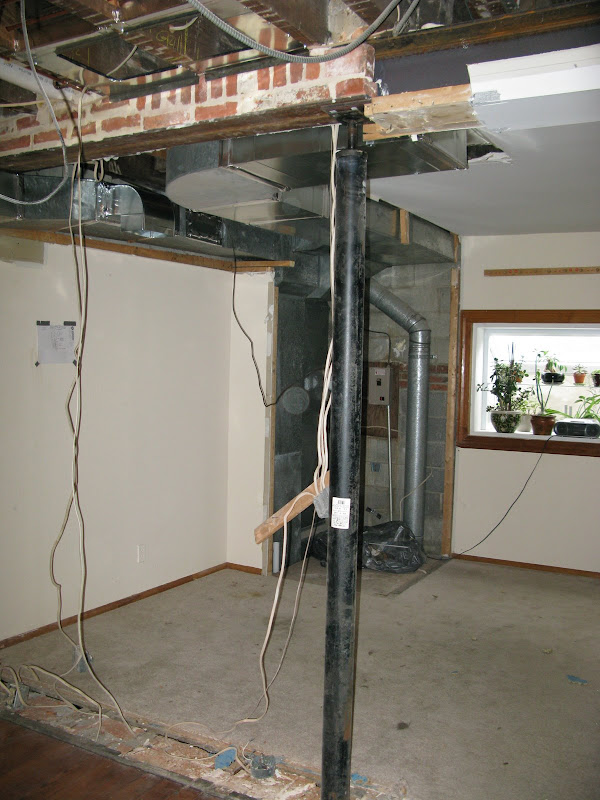
We are thrilled with the new open space! It's still a mess and we now have tons of work to do, but getting rid of this wall really helps us move forward. Here's what we're looking at:

We can't believe how much of a difference it made! The kitchen will mostly be the area where there is currently carpet (it may spill out a bit into the living room). The walk-through will be to the right of the column and to the left will be cabinetry/appliances. We've only made preliminary layout decisions, but now that we can really see the space we're going to get serious about the plan.
In the following picture you can sort of see how the ductwork is all tucked as high as possible and grouped together:

The next steps are to:
come up with the basic design;
decide where plumbing and electrical will be going;
and start the framing and drywalling process.
We'll also be drywalling the living room ceiling and the master bedroom ceiling (both are just exposed joists right now).
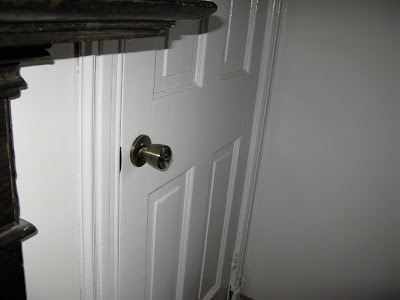
There are lots of other random jobs that will continue - speaking of, we installed doorknobs on a few closet doors. I basically followed the directions and they all work perfectly. These were doors that had no previous knobs, so there was chiseling and hole-sawing involved. Be careful, because this picture is about as exciting as hunting moose:

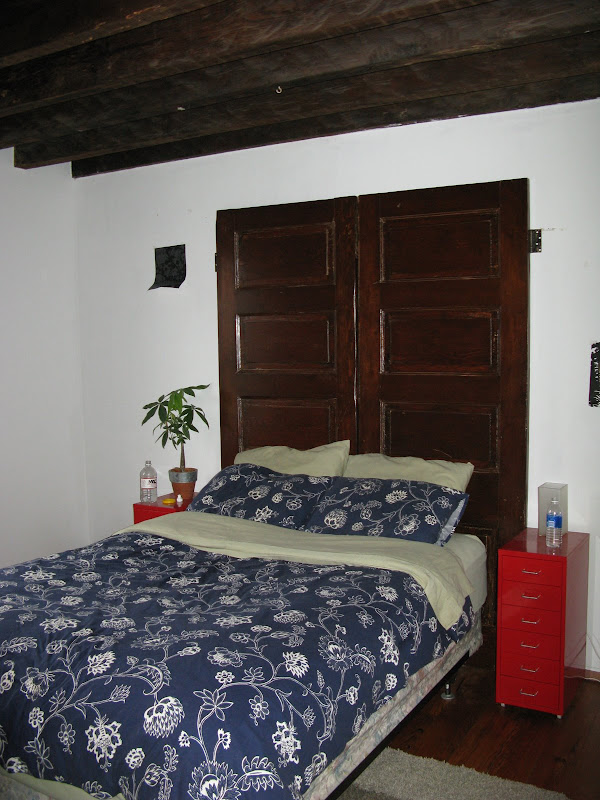
Also, upon request - here is a picture of the doors-as-headboard. There are going to be quite a few changes... actually everything will change, except for the headboard. Remember the wallpaper we were indecisive on? It's going on the wall behind the bed. The linens will certainly be changed; new side tables; the ceiling will be a solid surface - yeah, yeah, you think we should keep the beams - they look interesting in the picture, but they're a mess in person and they have to be covered. Also, the sound travels 100% through to the upstairs bedroom and that is less than ideal.

Gratuitous dog picture - ole blue eyes: